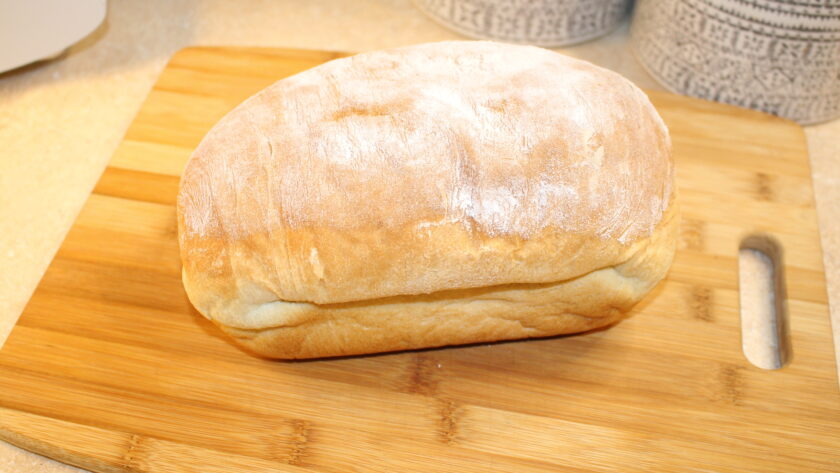
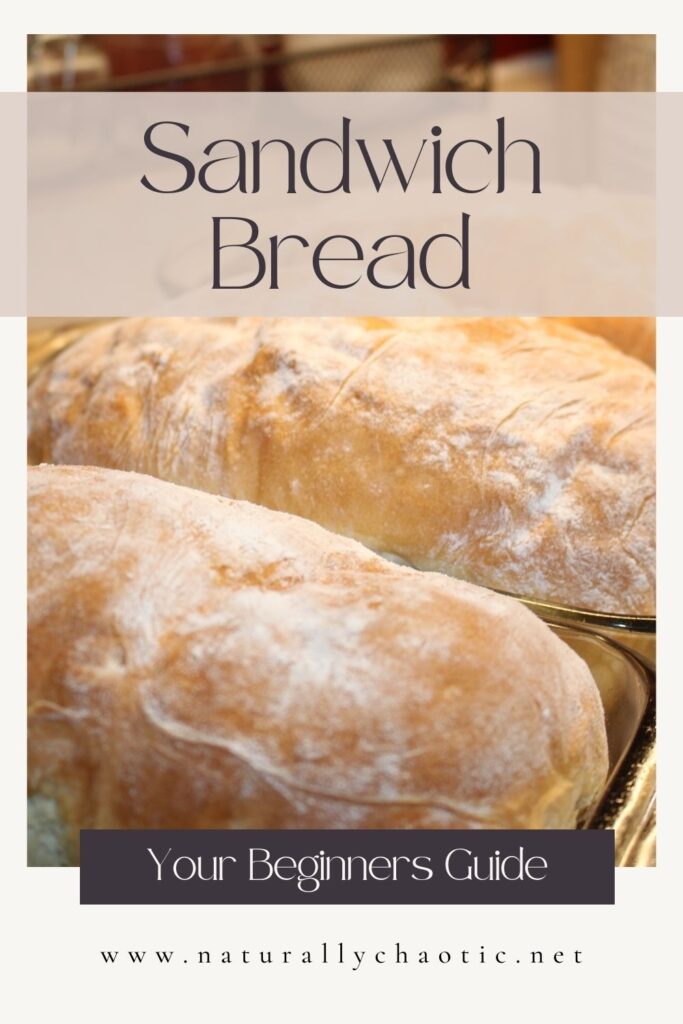
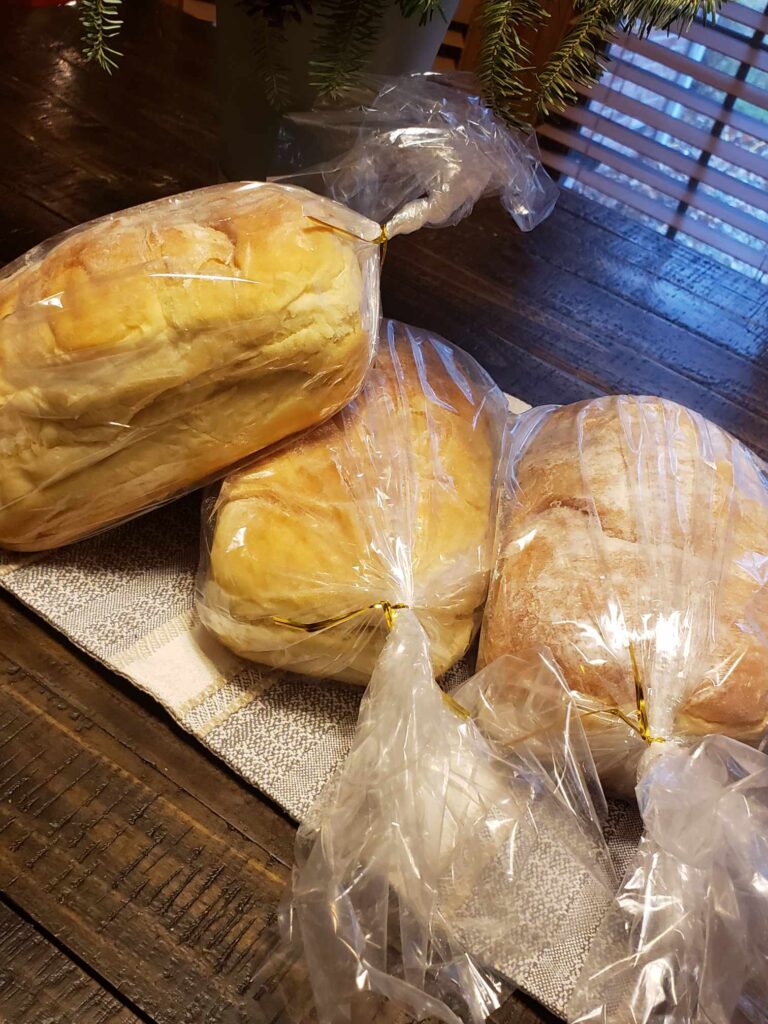
This Easy Homemade Sandwich Bread from scratch is, in my opinion, the easiest homemade bread recipe. It is soft, tender, full of flavor and is perfect if you are wanting to start your journey of making your own bread for you or your family.
I love to bake, I love to cook and be in the kitchen. Homemade bread, however, always intimidated me. And I have no idea why.
Years ago I was dealing with a gut/skin issue that seemed to flare up with certain foods. I thought I needed to go gluten free, which I did for a time, but boy did I miss soft squishy breads and buns. After lots of research I decided to try my hand at baking my own bread with organic flour, free from glysophate and it totally changed my world in the best way.
No flare ups, no gut issues and all the soft squishy bread and buns I wanted! I was a happy girl and my husband told me we couldn’t buy bread anymore. Coming from him, that was a huge compliment.
There is just something special about creating bread from scratch with a few simple ingredients that is far healthier than any bread you can find at the grocery store.
Why You Will Love This Recipe
Easy
This recipe is very easy for beginners. It is pretty straightforward and doesn’t have too much hands on time.
Quick
While this bread does take a couple hours from start to finish, it is much faster than a sourdough.
Healthier Option
Have you ever looked at the ingredient list on store-bought bread? The majority of them have a lot of different preservatives and additives in them to make them last longer on the shelf. Most of the flours have also been bleached, stripping the grain from any and all nutrients. This is part of what is harmful to the gut. Our bodies need the nutrients from the grains to break it down but when we remove these, this is where the issues start. Not to mention, most wheat crops are treated with glysophate and other chemicals which is toxic to our bodies.
Tips For Making Sandwich Bread
- Tools – While a stand mixer can definitely make things a little easier, it is definitely not a must. Honestly, starting with your hands to learn the feel of your dough is even better.
- If you are just starting out, don’t try to tackle bread baking while having 10 other things to do the same day. Pick a day to where you can have fun in the kitchen and really learn your bread. Have fun with it.
- If you have kids bring them into the kitchen with you. Involving them is one of the best ways to get them to try new things and it is a lifelong skill for them to learn. Plus, kiddos just love playing with flour and dough.
This post contains affiliate links, which means I make a small commission at no extra cost to you. See my full disclosure here.
Ingredients
Flour (It is better to use either a whole grain or unbleached flour.) The Turkey Blend is my favorite flour. I have used this one for years!
Active Yeast – Hands down this is my favorite active yeast.
Raw Cane Sugar or Raw Honey
Egg
Warm Water
Tools You May Need
9 inch Loaf Pan – These are great and affordable and I am also a fan of glass.
Stand Mixer– This is my favorite for any large batches of things or anything with a lot of flour. It has a lid!
Large Bowl
Dough Hook/Wooden Spoon – Dough hooks are needed by everyone. They are amazing for whisking or mixing thicker batters.
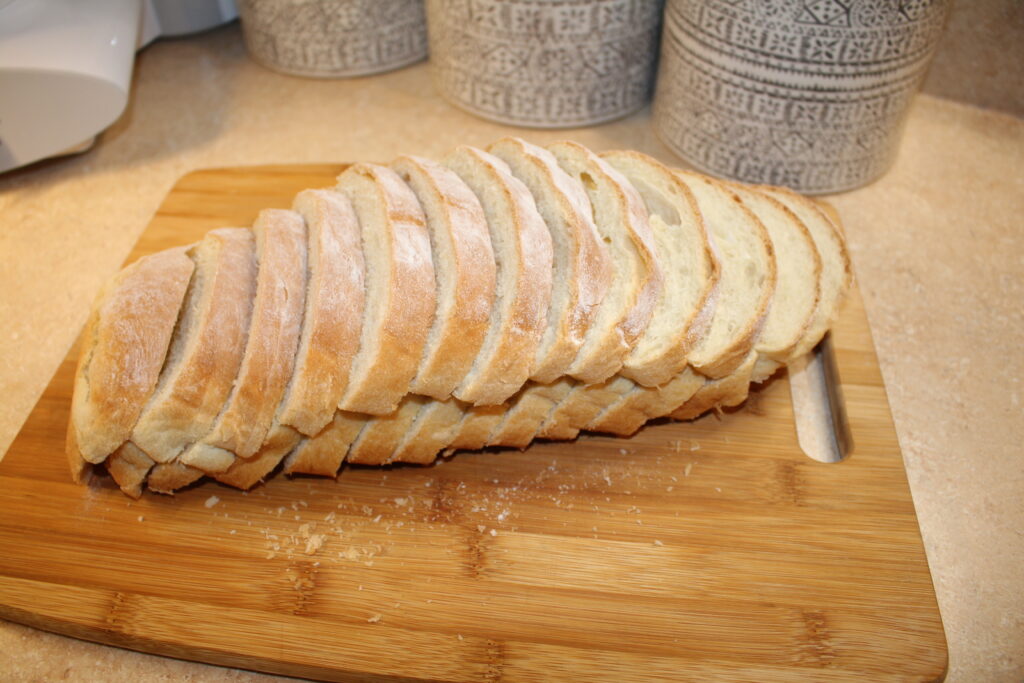
Bread Knife – You will want a serrated knife to slice through the bread once it’s cooled… if you can wait that long.
How To Make Homemade Sandwich Bread
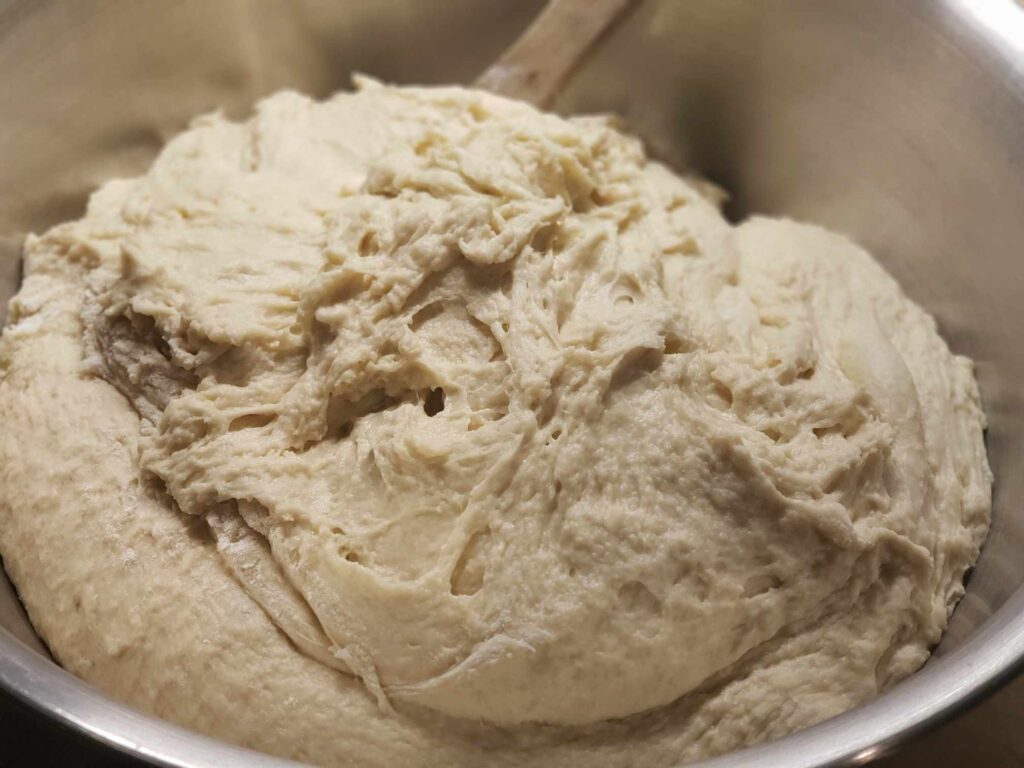
Whisk together your warm water, sugar or honey, and yeast. Cover and allow it to sit at room temperature for about 5 minutes. The mixture should get nice and bubbly and happy. Make sure the water isn’t too hot or it will kill the yeast.
Once your yeast is all happy and ready to go, add in all of your other ingredients.

Knead on low speed until the dough is smooth and elastic – about 10 minutes or so. You can also dive in with your hands too.
First Rise
Place the dough in a bowl and cover with a tea towel.
Let it rise for about 1-2 hours or until it doubles in size.
Beat it down. Literally, take a wooden spoon and beat it down. It’s fun, the kids love to do this part. You want to basically deflate it.
Second Rise
Cover it again and let it rise one more time.
Once it doubles in size again you will turn it out onto a cutting board or smooth surface that you have lightly dusted with flour.
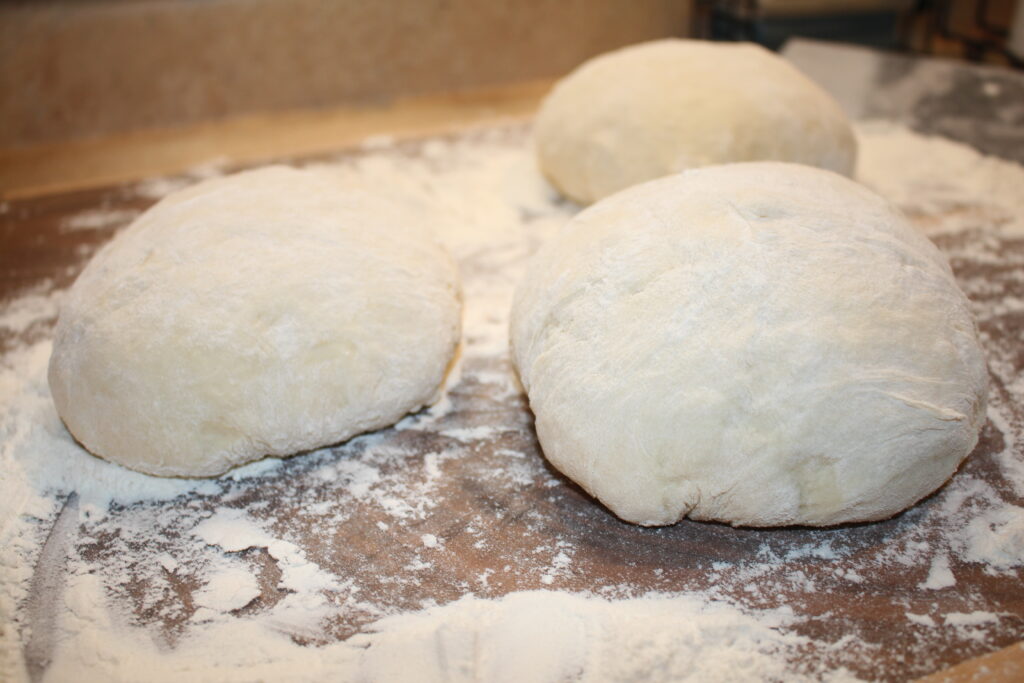
Prep the Loaves
Now you will knead until it forms a smooth ball of dough.
Next you will divide this into three sections and knead these separately until they are each a smooth ball of dough.
Prep Your Loaf Pans
Grease your loaf pans with butter or I personally love an avocado cooking spray.
Roll or press each ball of dough out to a small circle.
Then roll into a loaf and place in your greased loaf pan.
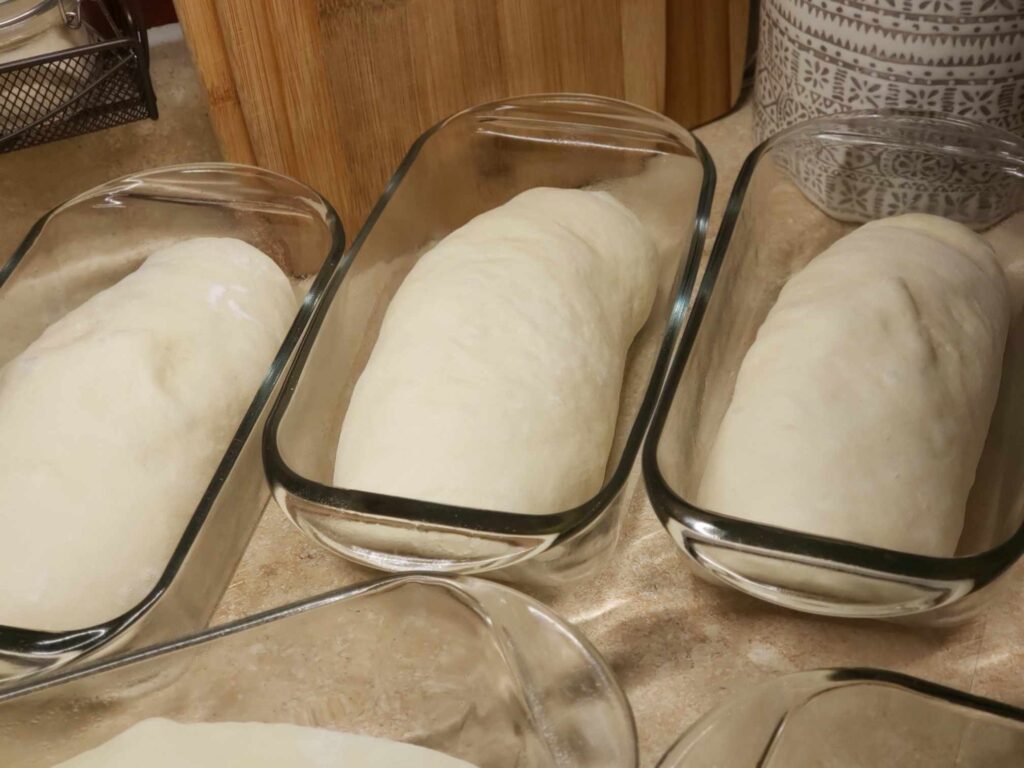
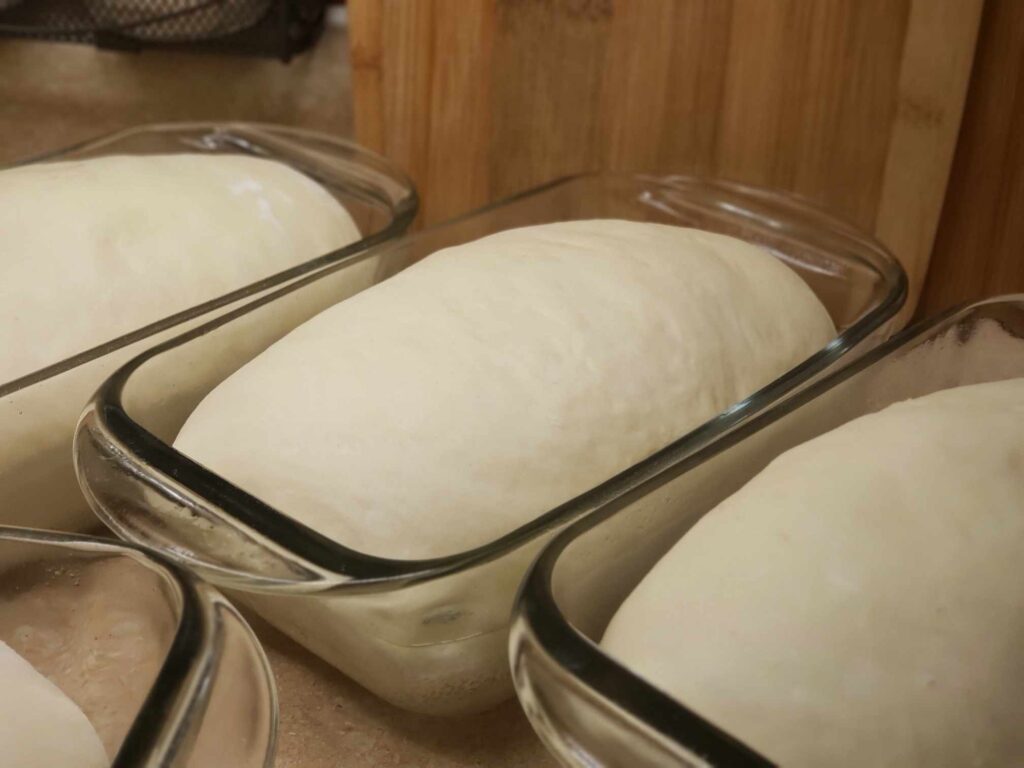
Third Rise
Cover and let rise until doubled in size, this usually takes about 20-30 minutes.
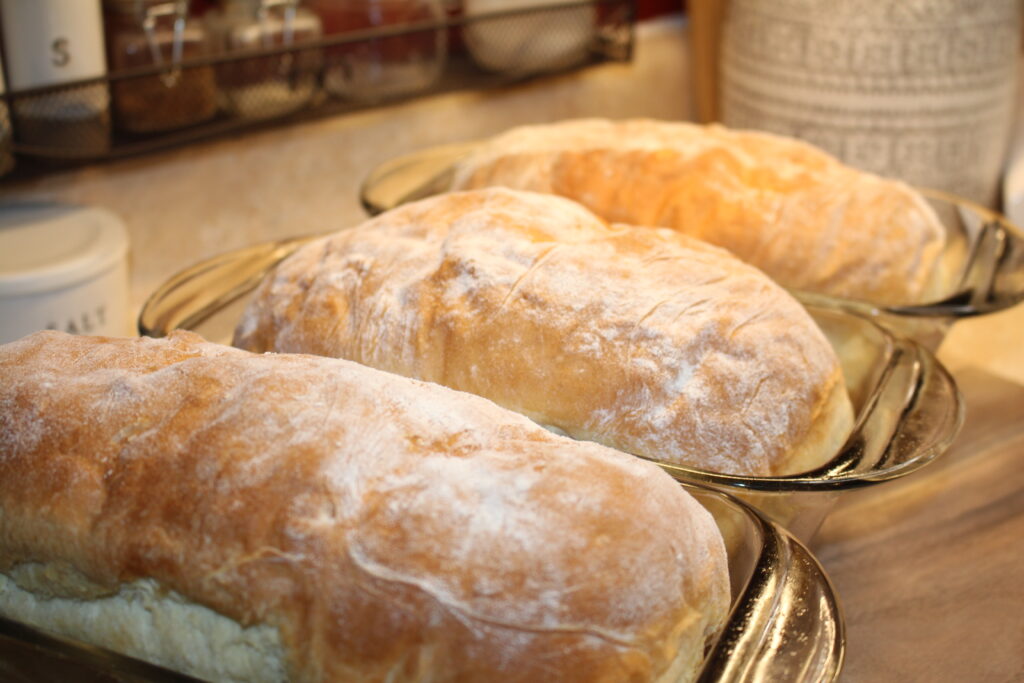
Now We Bake
Bake at 380 degrees for 25 – 28 minutes.
It is best to let the loaves cool completely before slicing. It will make slicing easier, but I won’t judge you if you slice while it’s still warm. We do this all the time. Heck, sometimes my kids and husband can’t wait for me to slice it and they just take chunks out, so no judgement here.
Enjoy!!!
How To Store
You can store in an airtight container or bread bag for up to 4 to 5 days.
It also stores amazing in the freezer for up to 3 months. I like to slice it before freezing. You can also toast from frozen and it is just as if you made it.
FAQs
Why isn’t my yeast mixture bubbly or foamy?
It could be a couple things, either your yeast may not be fresh or expired. Or your water could have been too cold to activate it or too hot and it killed it. Either way if you don’t have happy/foamy yeast, I would restart. You want a strong yeast or your bread won’t rise.
Is this a forgiving recipe?
Yes, I have forgotten to beat down my loaf after a rise and it has spilled out of the bowl, I just pick it all back up and shove it in the bowl, cover and let it rise again. I have also not timed my baking well some days and have gotten busy and have had to beat it down and let it rise a third time and it has been just fine.
Can I double this recipe?
Yes, definitely. Typically, I always double it. I love to have a few loaves in the freezer to grab when needed.
I hope this step-by-step has helped you gain confidence to give making your own bread a try!
If you try this recipe and love it, I would love if you could come back and give it 5 stars! Tag me on Instagram @naturallychaoticlifestyle!
Thanks for stopping by, see you next time!

Easy Homemade Sandwich Bread
This Easy Homemade Sandwich Bread from scratch is, in my opinion, the easiest homemade bread recipe. It is soft, tender, full of flavor and is perfect if you are wanting to start your journey of making your own bread for you or your family.
Ingredients
- 7 to 8 cups All-Purpose Flour
- 1 1/2 tbsp. Active Yeast
- 1/3 cup Sugar or Raw Honey
- 1 Egg
- 3 cups Warm Water
- 1 tsp. Salt
- 1/3 cup Avocado Oil
Instructions
- Whisk together your warm water, sugar or honey, and yeast. Cover and allow it to sit at room temperature for about 5 minutes. The mixture should get nice and bubbly and happy. Make sure the water isn’t too hot or it will kill the yeast.
- Once your yeast is all happy and ready to go, add in all of your other ingredients. Knead on low speed until the dough is smooth and elastic – about 10 minutes or so. You can also dive in with your hands too.
- First Rise - Place the dough in a bowl and cover with a tea towel. Let it rise for about 1-2 hours or until it doubles in size. Beat it down. Literally, take a wooden spoon and beat it down. It’s fun, the kids love to do this part. You want to basically deflate it.
- Second Rise - Cover it again and let it rise one more time. Once it doubles in size again you will turn it out onto a cutting board or smooth surface that you have lightly dusted with flour.
- Prep the Loaves - Now you will knead until it forms a smooth ball of dough. Next you will divide this into three sections and knead these separately until they are each a smooth ball of dough.
- Prep Your Loaf Pans - Grease your loaf pans with butter or I personally love an avocado cooking spray. Roll or press each ball of dough out to a small circle. Then roll into a loaf and place in your greased loaf pan.
- Third Rise - Cover and let rise until doubled in size, this usually takes about 20-30 minutes.
- Now We Bake - Bake at 380 degrees for 25 – 28 minutes. It is best to let the loaves cool completely before slicing. It will make slicing easier, but I won’t judge you if you slice while it’s still warm. We do this all the time. Heck, sometimes my kids and husband can’t wait for me to slice it and they just take chunks out, so no judgement here.
- Enjoy!
Notes
How To Store
You can store in an airtight container or bread bag for up to 4 to 5 days.
It also stores amazing in the freezer for up to 3 months. I like to slice it before freezing. You can also toast from frozen and it is just as if you made it.
I was lucky to get 2 loafs of this amazing bread. I’ll NEVER WANNA USE STORE BREAD AGAIN !!!!
Thank you Julie
Thank you so much! I’m so glad you love it!!
I will never buy store bought bread again!!!! Best Bread recipe ever!!!!