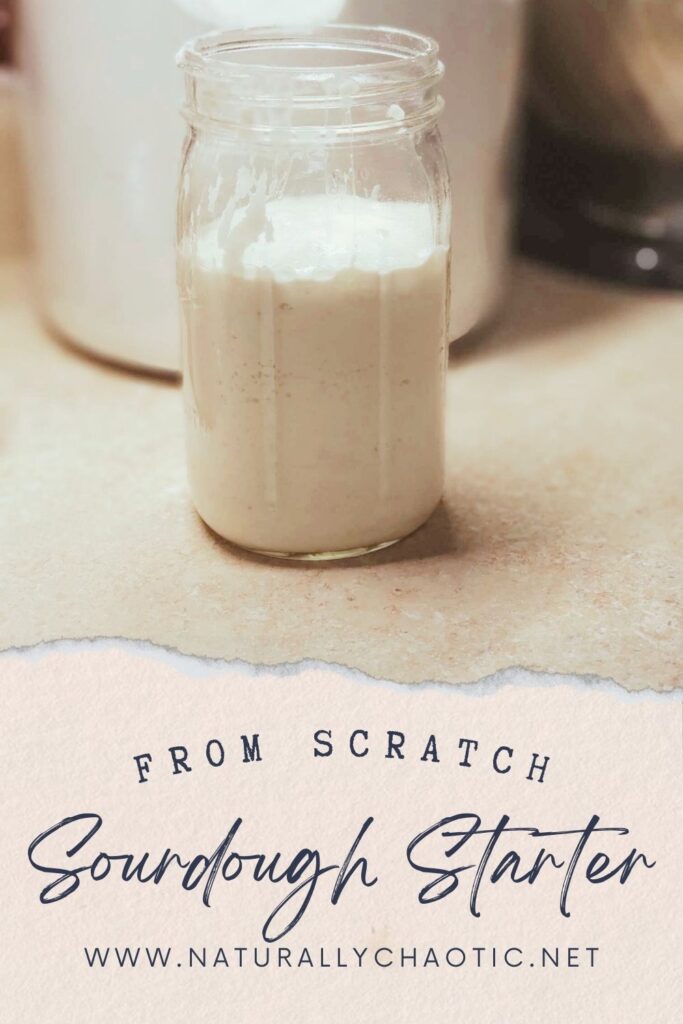
Making Sourdough Starter from scratch only takes two ingredients: flour and water. Having this on hand will set you up for success with baking breads, crackers, cookies and so much more.
Sourdough has been a popular thing over the last few years but it has been around for hundreds of years!!!
I created my starter two years ago and it is still serving me today with lots of yummy foods!
What Is A Sourdough Starter?
A sourdough starter is a live active culture that is made of fermented flour and water and is full of beneficial bacteria and yeasts.
It is used as a way to ferment recipes and naturally rise bread. A sourdough starter can be used to completely replace the need for store bought yeast in baking since it has its own natural yeasts in it.
Why You Will Fall In Love With Sourdough…
Before storebought yeast was a thing and was isolated and sold in little packets, sourdough starter was the way to go in homes and families, and starters were passed down for generations. (I love this!!!)
The health benefits are amazing!
Have you ever heard of phytic acid? Well, if not, let me break it down for you. It is basically an antinutrient found in grains, nuts, and beans that interferes with the absorption of certain nutrients. They are present in grains to keep them from spoiling.
They do serve a purpose, but there is also good evidence that our bodies weren’t meant to handle them without a little prep work. That doesn’t mean we can’t eat them, it just means there is a proper way to prepare grains and beans that eliminates most, if not all, of the phytic acid in offending foods.
This is the very reason traditional cultures soaked and fermented their grains, seeds, and beans. We are a culture these days of instant gratification. We have lost that art. And guess what? People can’t seem to handle grains anymore.
Instead of using instant yeast packets or even active yeast, people used to leaven their bread with a fermented starter that captured all the yeasts in the environment.
AKA the Sourdough Starter!
Bet your wondering how you do that? Well, stay with me, because I explain how to make your very own starter to get you baking.
Taste
Sourdough has such a unique flavor. You can keep it light or you can ferment longer to have a stronger tang or flavor. Either way you like it, you can totally make it what you want.
Honestly, it doesn’t matter though if we are talking sourdough or regular baked goods. Once you ditch the boxed mixes and make pancakes, waffles, muffins, cakes, bread, etc… from scratch, the taste of store bought doesn’t compare and neither do the health benefits.
FAQs
How long does it take to make an active Sourdough Starter?
It will take about a week to make an active starter but depending on weather, elevation, humidity, it can take up to two weeks to make a starter ready to make bread. Once it is done though, it is ready to go. It really is simple, I promise.
Do I really have to discard the sourdough every time I feed it?
Yes, when you are starting out you will need to discard it (throw it out). Since you have to feed it frequently, if you don’t discard it you would have so much starter, you would waste so much more flour in the long run and it would be really hard to keep healthy and get the proper amount of yeast and bacteria that you want for a strong starter.
After your starter is ready, you will learn to love discard. You can use them in so many recipes! I am working on posts for scones, crackers, pancakes, etc… So fun!
How do I know when my starter is ready?
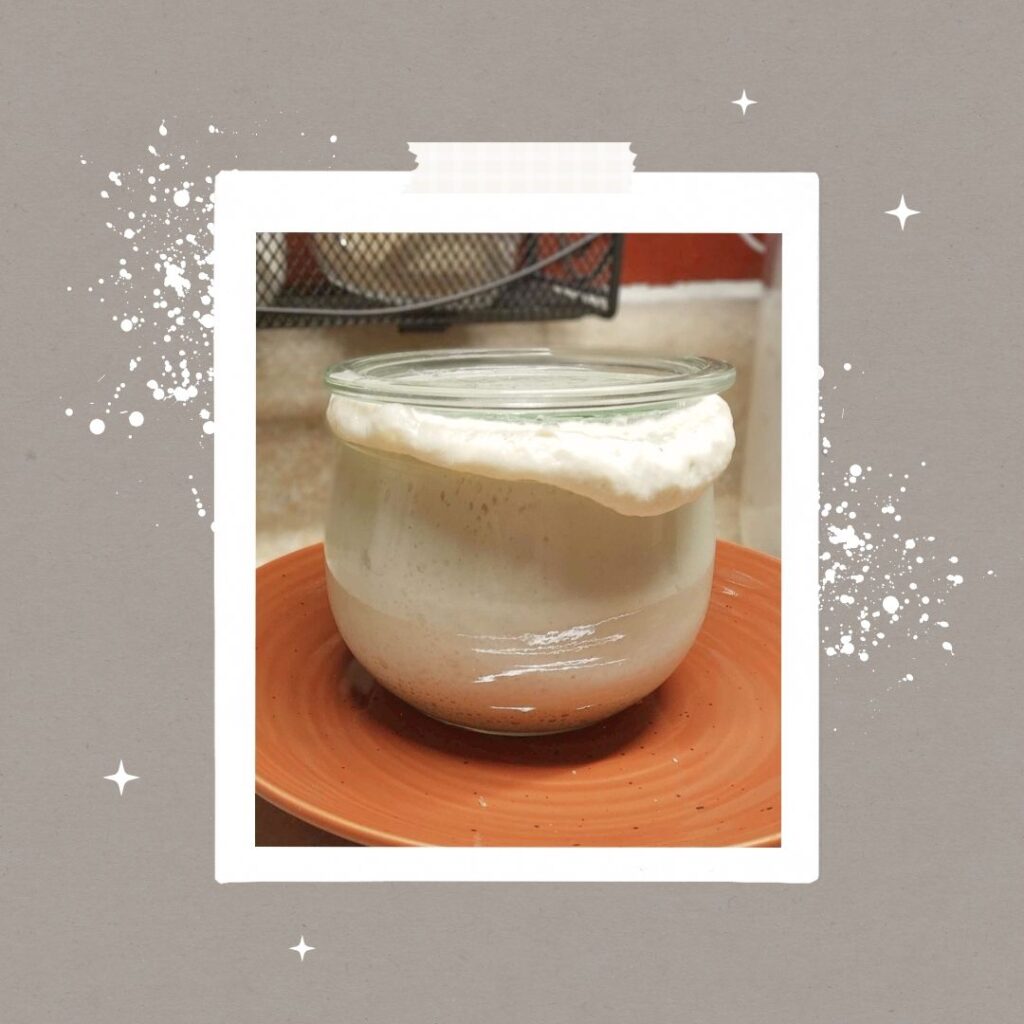
This is one of those things you will learn as you feed. Once you feed your starter and give it 4-12 hours and it doubles, triples, or quadruples in size and is super bubbly, it’s ready. I know, not very straightforward there huh? A lot of things come into play here, the temperature of your house, your elevation, your flour used… I promise you will learn this more as you go. Hands on is always the best way. A good way to be able to determine this too, is to place a rubber band where the top of the starter is after you feed it. After a few hours have passed, take a peek and you can see just how high it has grown.
My sourdough starter also grows slower in the winter than in the summer.
This post contains affiliate links, which means I make a small commission at no extra cost to you. See my full disclosure here.
Tools And Ingredients You Will Need:
Ok, so now you know why you want to have a bowl of sourdough starter bubbling away in your kitchen, but the big question is how do you make one?
First, let’s make sure you have everything on hand that you will need.
Ingredients
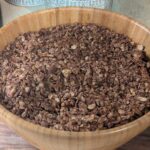
Flour (It is better to use either a whole grain or unbleached flour.) The Turkey Blend is my favorite flour. I have used this one for years!
Filtered water (We use a Berkey water filter. We have the Royal size for our family of 6.)
Tools
How To Make Sourdough Starter From Scratch
Day 1:
Today is the day. Let’s get started! On day one, you will mix 1/2 of a cup of flour and 1/2 of a cup of filtered water. Stir vigorously, making sure to scrape down the sides and incorporate everything. Place a clean tea towel over the bowl and set aside. Allow it to sit for 24 hours.
Day 2:
On day two, discard half of the mixture and repeat the process. Add 1/2 of a cup of flour, 1/2 of a cup of water, stir vigorously, and cover.
Why do you have to remove half the mixture? If you didn’t, by day four, you would have sourdough starter overflowing from your jar or bowl. Also, by removing half, this ensures that the right amount of flour and water is feeding the growing colony of beneficial yeast. If you didn’t discard half, the 1/2 a cup of flour wouldn’t be enough to feed them on days three and four. Basically, you would end up with a lot of extra starter by the end, and none of it would be mature or ready to bake with.
Day 3-5
Repeat the day two instructions for days three, four, and five.
Day 6-7
On days six and seven, do the same but feed it every 12 hours, instead of every 24.
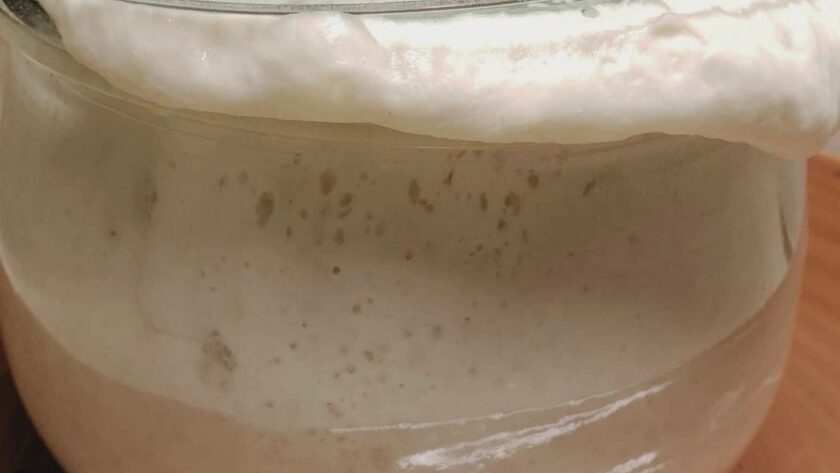
By day seven, there should be enough beneficial bacteria and yeast present to bake sourdough bread and other fermented sourdough goodies.
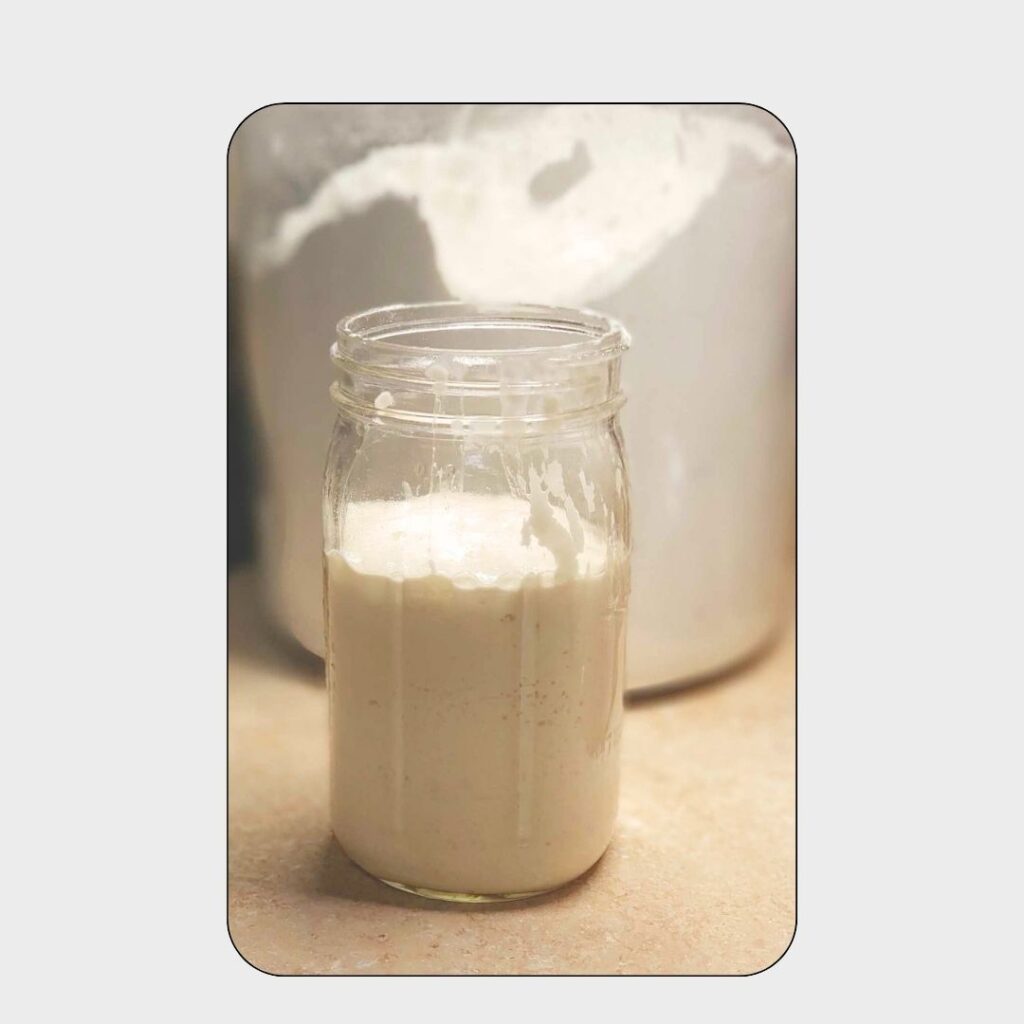
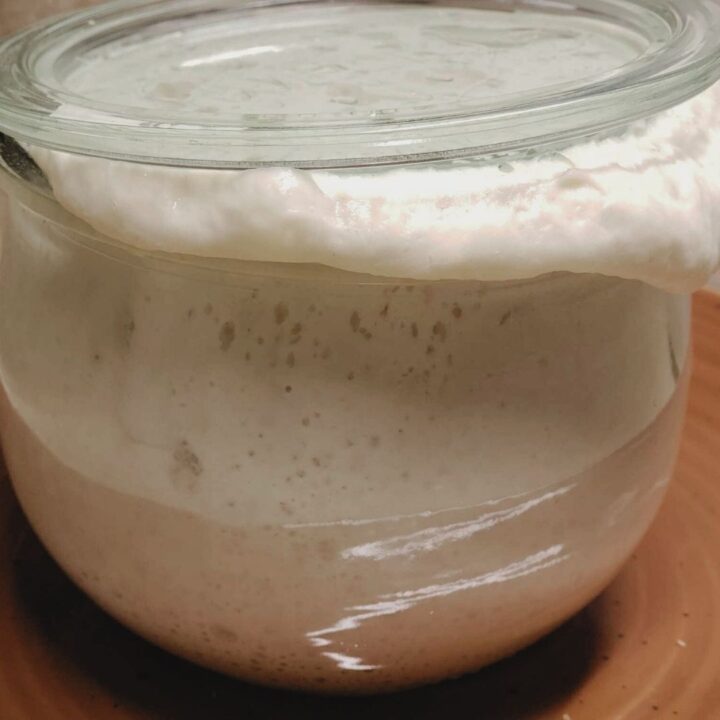
You will know it’s working if it bubbles, you will start to see lots of bubbles and it will double in size.
How To Take Care Of Your Sourdough Starter
This is a living thing so you do have to take care of it to keep it alive and active. There will be some maintenance to keep it going for years and years.
Keep it in the refrigerator for occasional use:
Storing it in the refrigerator slows down the fermentation process, so one feeding per week, or every other week, is sufficient when you are not needing a lot of it.
I usually use my starter a couple times per week. If I plan to make bread Saturday, for example, I will pull my starter out of the fridge Friday morning or afternoon, take out a tbsp or so and add flour and water. (More of this will be explained on my “How to Bake Sourdough Bread” post once I get it up.) By Saturday morning it is bubbly and ready to go.
I will feed my Master Jar if it needs it and put it back in the fridge.
Keep on the counter for daily use:
Since the “little guys”, as also known as the bacteria in the starter, are active at room temperature, they need to be fed more often if kept out at room temperature.
If you leave your starter out on the counter, you will need to feed it every day. You will also have to be baking every day to use up all that starter.
Most probably won’t use the starter quite this much, unless you own and operate a bakery. I would recommend storing it in the refrigerator between uses.
I hope this guide has helped and that this is just the beginning of your sourdough journey!
If you try this recipe and love it, I would love if you could come back and give it 5 stars! Tag me on Instagram @naturallychaoticlifestyle!
Thanks for stopping by, see you next time!
Sourdough Starter from Scratch
Learn how to make your own sourdough starter from scratch.
Ingredients
- Flour
- Filtered Water
Instructions
Day 1:
Today is the day. Let’s get started! On day one, you will mix 1/2 of a cup of flour and 1/2 of a cup of filtered water. Stir vigorously, making sure to scrape down the sides and incorporate everything. Place a clean tea towel over the bowl and set aside. Allow it to sit for 24 hours.
Day 2:
On day two, discard half of the mixture and repeat the process. Add 1/2 of a cup of flour, 1/2 of a cup of water, stir vigorously, and cover.
Why do you have to remove half the mixture? If you didn’t, by day four, you would have sourdough starter overflowing from your jar or bowl. Also, by removing half, this ensures that the right amount of flour and water is feeding the growing colony of beneficial yeast. If you didn’t discard half, the 1/2 a cup of flour wouldn’t be enough to feed them on days three and four. Basically, you would end up with a lot of extra starter by the end, and none of it would be mature or ready to bake with.
Day 3-5
Repeat the day two instructions for days three, four, and five.
Day 6-7
On days six and seven, do the same but feed it every 12 hours, instead of every 24.
By day seven, there should be enough beneficial bacteria and yeast present to bake sourdough bread and other fermented sourdough goodies.
You will know it’s working if it bubbles, you will start to see lots of bubbles and it will double in size.