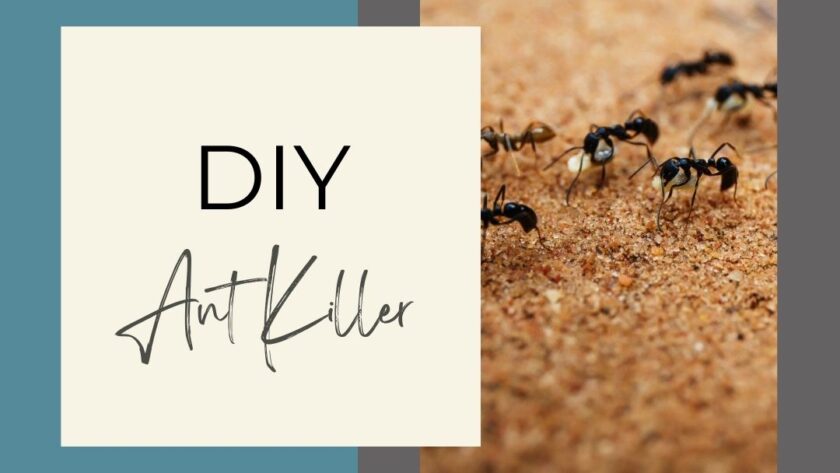
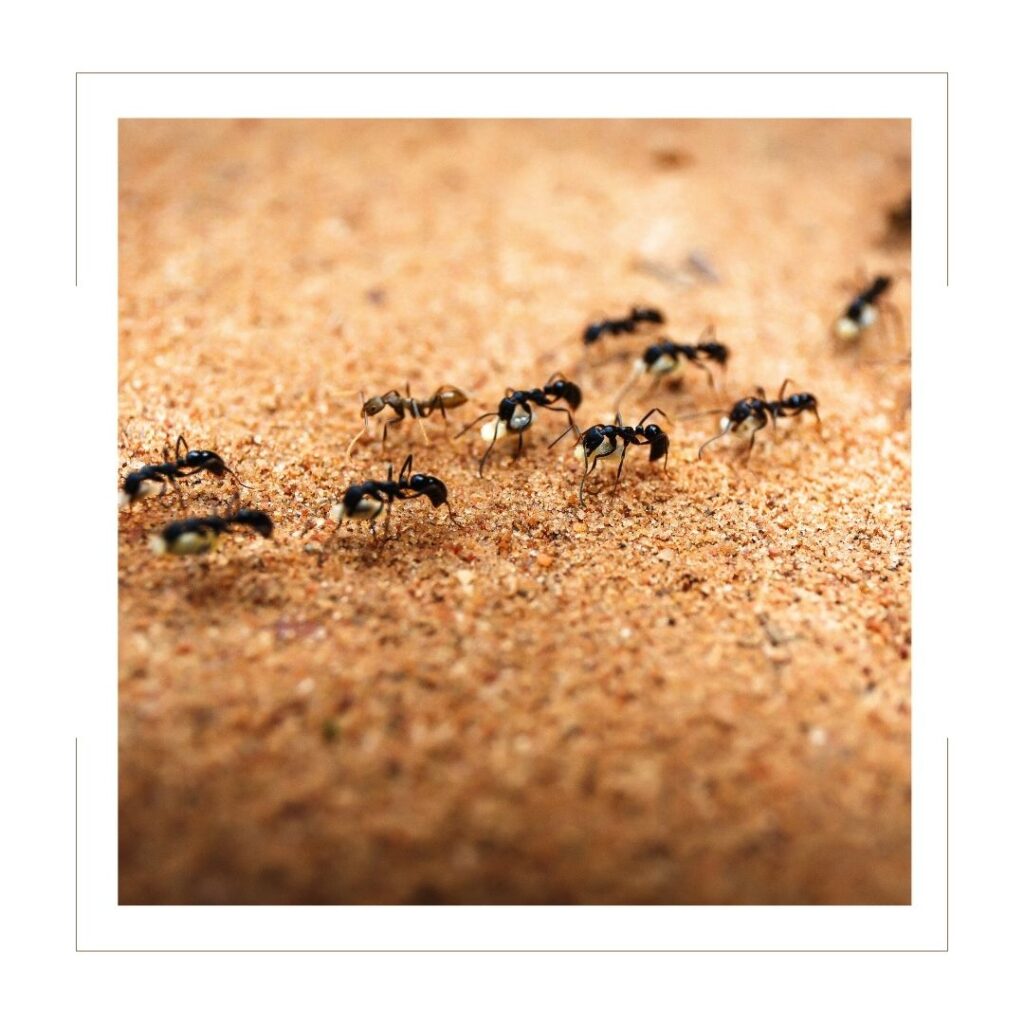
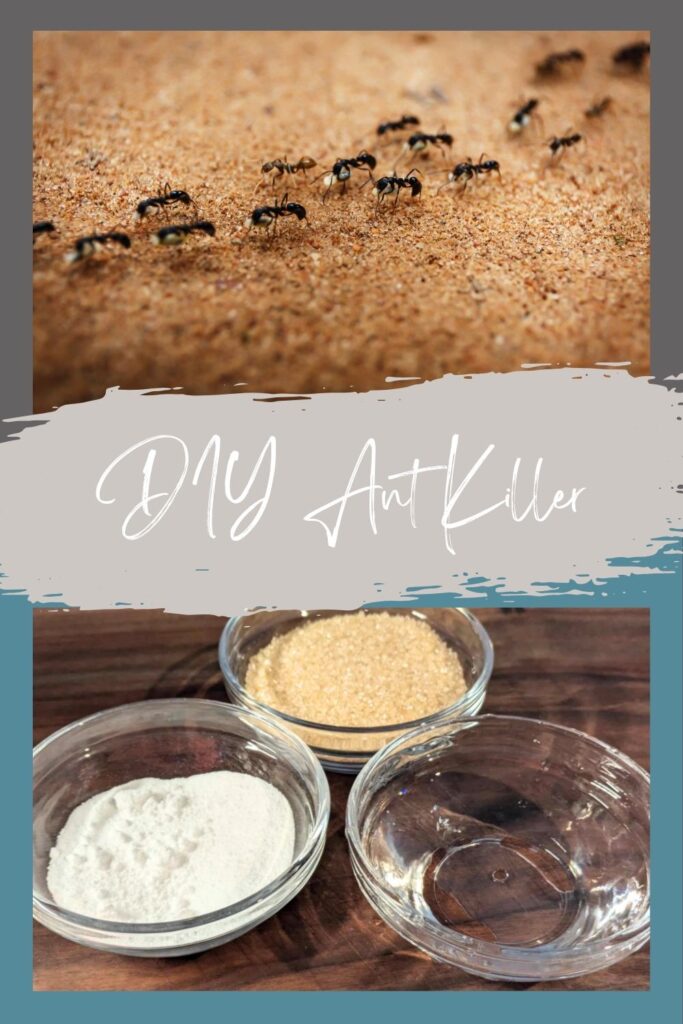
Spring and rainy weather can bring unwelcome ants into the house. My favorite DIY Ant Killer is made up of only 3 ingredients and it’s so simple. It hasn’t failed me yet in all the years I’ve been making it and is my go-to anytime the ants want to make our home their home.
Spring is here. Well kind of. If you are in the Midwest like us, we have had four seasons all in one day. It never fails though, when the rain comes in the spring, so do the ants… in my kitchen… where they are not welcome. It gets annoying and I feel like I can’t have any fresh produce out anywhere and our four year old is currently terrified of them.
I don’t like using harsh chemicals, even for getting rid of bugs but I especially don’t want to use them in our kitchen where we have food out, cook and have little feet running in and out constantly. This is an easy DIY to tuck behind a trash can or up out of the way on a counter.
This does still use Borax so I do still keep an eye on it, but it’s not a spray and it doesn’t contain multiple toxic ingredients that I don’t even want my kids to touch.
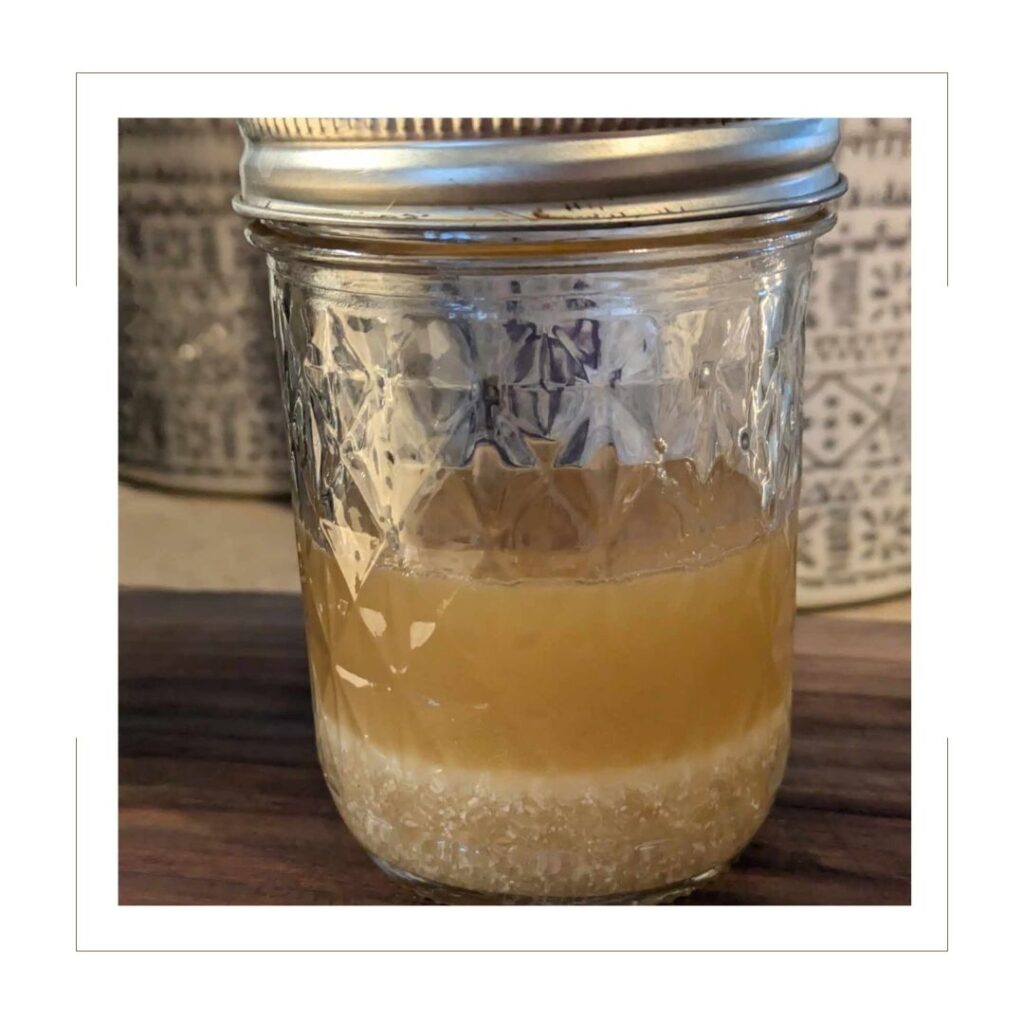
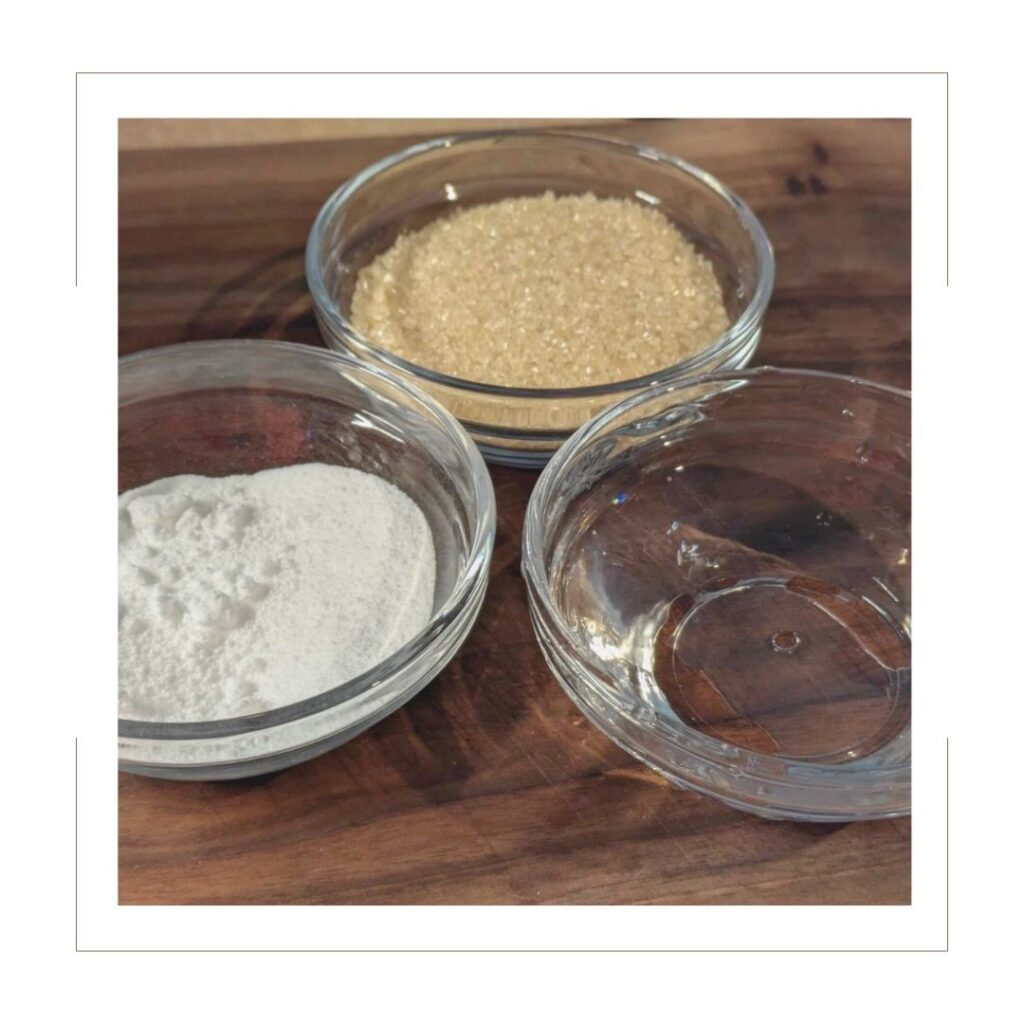
It only contains, Borax, sugar and water. That’s it. Super simple.
How it works?
It’s quite simple. You mix it together and then set it out, that’s it.
The sugar is what attracts the ants. Now… keep in mind, because of the sugar, you will initially see an increase in ants. This is OK! And even a good thing. I’ll talk more about this in just a sec.
The ants will take the mixture back to their hill which will eliminate them from coming back at all. That’s the win!
Typically I only need to leave this mixture out for 72 hours and it will take care of the problem. It’s fantastic. You don’t leave this out all season like you do some ant traps. (Now this doesn’t mean that if you take care of the problem in the kitchen you won’t get them in the bathroom or in another room, it all depends on where the ants are coming from and taking it back to. But it’s still quick and effective!)
Let’s talk about the ingredients in this DIY Ant Killer:
Borax
This is what will be acting as the ant killer in this recipe. The ants pick up the Borax when they pick up the sugar mixture and they take it back to the rest of the ants in their hive. This is an important thing.
Most ant killers you set out and the ants will come to it and either get trapped or eat it there and it will kill them immediately. This makes it to where you have to continuously leave something out.
That is one of my favorite things about this. You don’t have to leave anything out all season and they will stop coming back. Since the ants will carry the mixture back to the rest, eventually it will kill off the queen and their hive that they are coming from. Which means you shouldn’t have any more visitors.
But like I mentioned above, this will mean there is an increase in ants first. Then over the next few days it will dwindle down to where there are no new ants coming.
Safety note:
I know I am all about all natural solutions. There is some controversy over whether Borax is considered safe or not. I personally would prefer to use this to eliminate the problem and be able to clean it up, rather than have to keep spraying chemicals that we would breathe in or leave a product out with a higher toxicity level for a full season. Whatever side you fall on this is still an ant killer recipe, so you don’t want your kids or pets eating this. You will still need to keep an eye on where you place it. Borax isn’t a food.
Sugar
This is what will attract the ants to the mixture. Any white sugar will be just fine. You don’t need anything special for it.
Water
This is just used to thin out the mixture and to bind it together.
Pin for Later!
This post contains affiliate links, which means I make a small commission at no extra cost to you. See my full disclosure here.
What you will need to make your DIY Ant Killer:
Borax
White Sugar
Water
Cotton Ball
Glass Storage Container
Flat Surface (canning lid, milk lid, piece of cardboard)
How to make the DIY Ant Killer
Step 1
Gather your supplies.
Step 2
Add your sugar, Borax and warm water in a bowl and mix well.
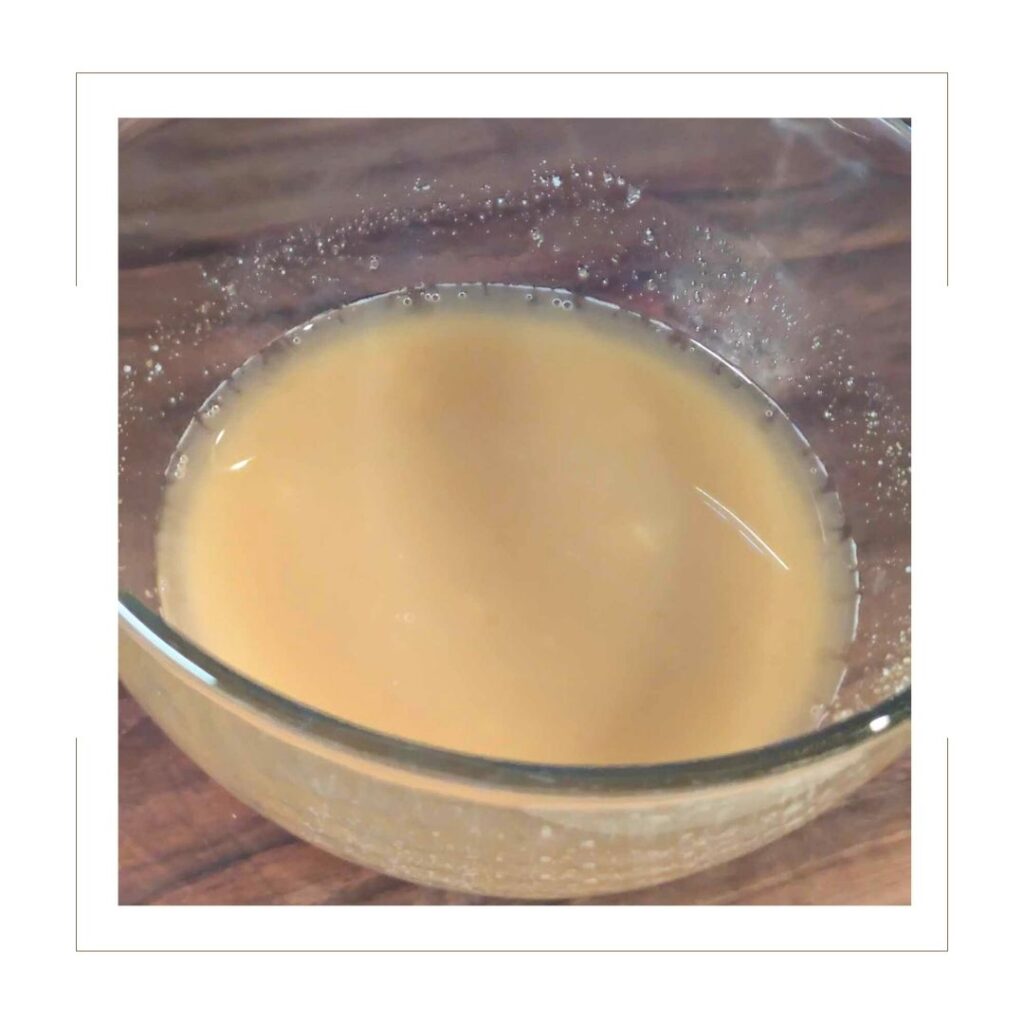
Step 3
Pour your solution into a glass jar to store. Be sure to label your jar. When you find a jar 6 months from now with a clear solution leftover you will be happy to know what it is. Trust me.
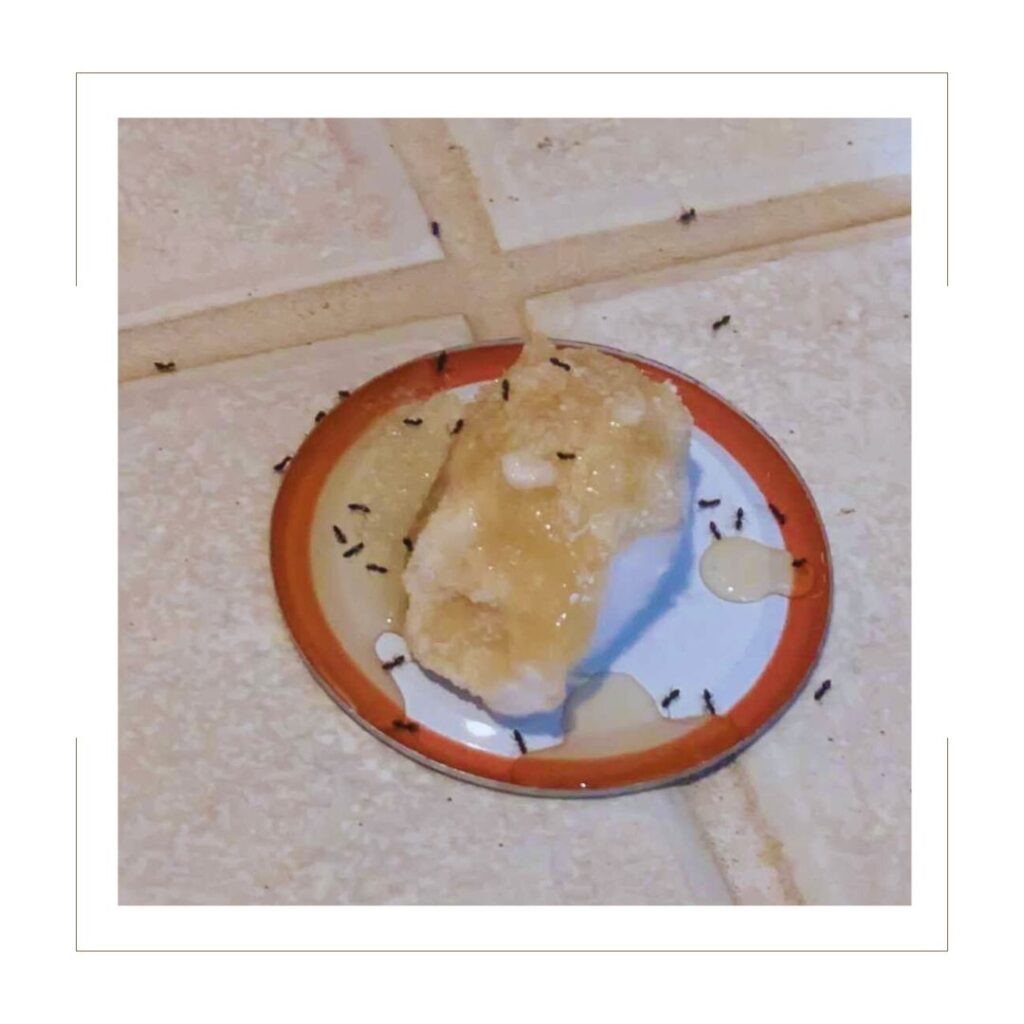
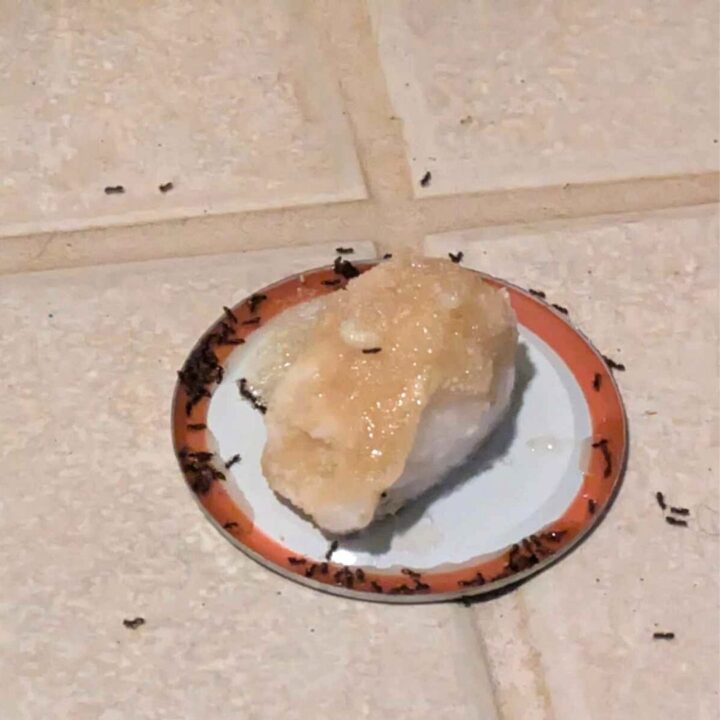
Step 4
When you are ready to use you will soak the cotton ball in the mixture and then place the cotton ball on your flat surface. You will want to place these in the high traffic areas. Let the ants come and go as they please, don’t kill them.
Step 5
If the cotton ball dries out, just replace it until the ants aren’t coming back.
Please Note:
As I said above, as naturally minded as I am, this DIY does contain Borax. I have kiddos running around and our dog too that I don’t want to get curious and start eating or playing with this, so I do gate off my kitchen (or area needed) when I sit this out on the floor just to be on the safe side. You can also place it high on a surface too if that works for your needs.
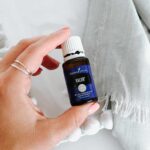
I also love to throw together a quick spray of Peppermint and Clove essential oil to mist around windows and doors as well to use for a preventative for ants. It also smells nice! And I don’t have to worry about the kiddos or dogs with this one.
These are the oils our family has used for years (and that we know are safe for the uses mentioned above).
I am not a doctor. I am just a Mama who loves finding natural options for her family. My education on oils is how our family has used these over the years and the benefits we have seen. You are the gatekeeper of your home and know your family so please keep that in mind while following us on this journey. Also, when speaking about essential oils, we use Young Living in our family and have for over seven years. These are the oils that I have researched and feel comfortable with for our family. Not all oils are created equal.
Check out some other related posts!
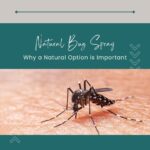
Natural Bug Spray – Why ingredients are important
Lemon Essential Oil- Uses and Benefits
Peppermint Essential Oil – Uses and Benefits
Lavender Essential Oil – Uses and Benefits
If you try this recipe and love it, I would love if you could come back and give it 5 stars! I’d love for you to follow along or tag me @julie.naturallychaotic over on Instagram!
Thanks for stopping by, see you next time!
DIY Ant Killer
A simple DIY Ant Killer to keep your home free of the little critters.
Materials
- 2 tbsp. Borax
- 1/3 cup White Sugar
- 1/2 cup Water
Tools
- Cotton Ball
- Glass Storage Container
- Flat Lid/Surface (piece of cardboard, canning lid, etc..)
Instructions
- Gather your supplies.
- Add your sugar, Borax and warm water in a bowl and mix well.
- Pour your solution into a glass jar to store. Be sure to label your jar. (When you find a jar 6 months from now with a solution leftover you will be happy to know what it is. I speak from experience.)
- When you are ready to use, you will soak the cotton ball in the mixture and then place the cotton ball on your flat surface. You will want to place these in the high traffic areas. Let the ants come and go as they please. DON'T kill them.
- If the cotton ball dries out, just replace it until the ants aren't coming back.
Notes
Make sure you are aware. As naturally minded as I am, this DIY does contain Borax. I have kiddos running around and our dog too that I don’t want to get curious and start eating or playing with this, so I do gate off my kitchen (or area needed) when I sit this out just to be on the safe side. You can also place it high on a surface too if that works for your needs.