 Julie Steinkamp
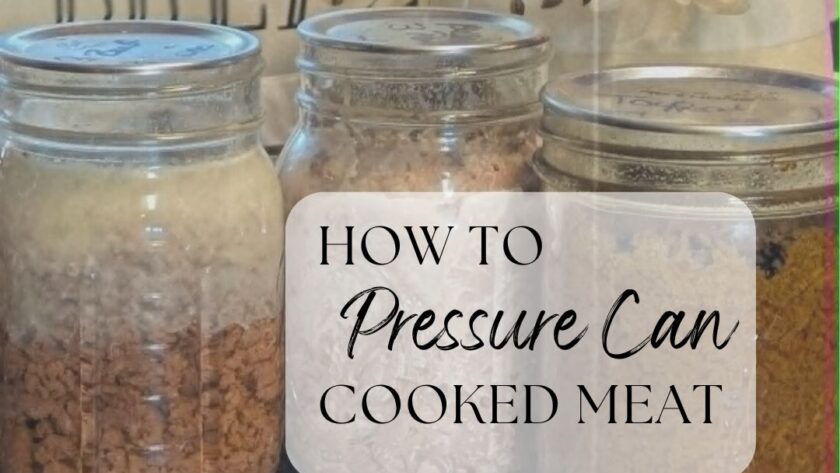
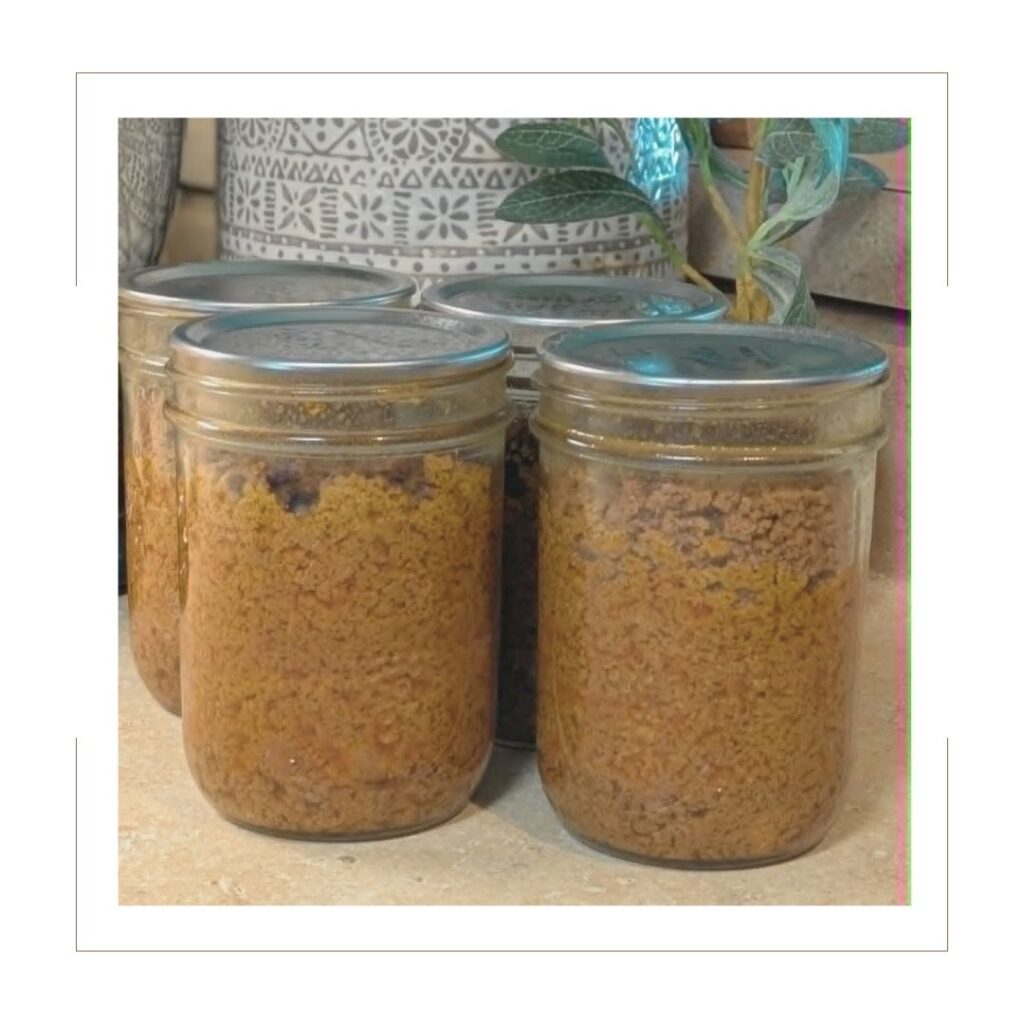
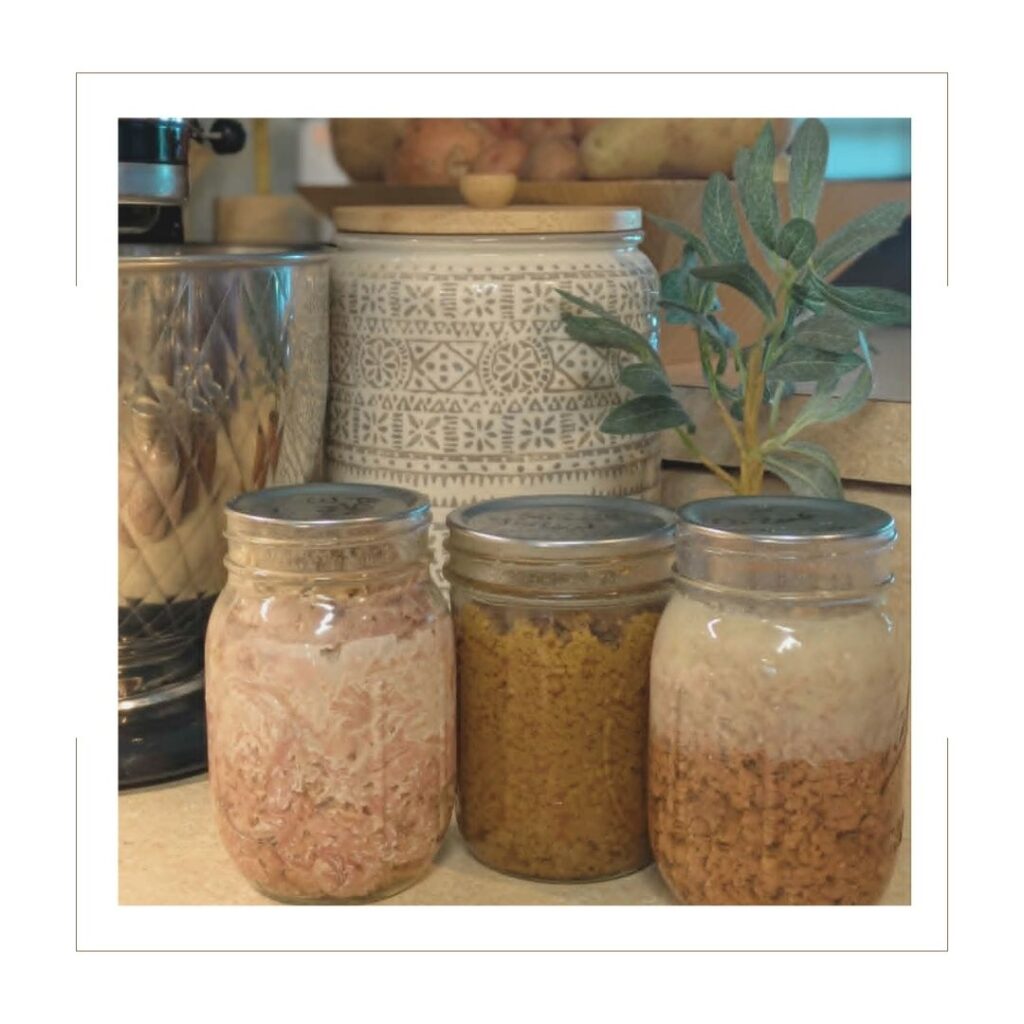
 If you’ve ever stared at a pot of leftover roast, a bag of shredded chicken, leftover pulled pork or ground beef from a big batch cook and thought “I really don’t want this to go bad in the fridge,” this one is for you. Or if you are like me and just want to have some convenience meals on the shelf… Pressure canning leftover meat is one of my favorite ways to make sure nothing we cook goes to waste around here. You just pop the jars on the shelf and pull one down whenever you need a fast meal — no thawing, no guessing what’s in the freezer. Once you get the hang of pressure canning leftover meat, you will wonder why you didn’t start sooner!
Why you’ll love pressure canning leftover meat
Nothing goes to waste. If we roast a big chicken or make a huge pot of taco meat, there’s almost always extra. Instead of it sitting in the fridge until we forget about it, it goes straight into jars and onto the shelf.
It’s a pantry shortcut on your busiest nights. Having jars of already-cooked meat on hand means dinner can come together in minutes — dump it in soup, tacos, a casserole, whatever you’ve got going. So easy!
It frees up freezer space. We only have so much room in our freezer, and shelf-stable jars of meat take that pressure off (pun intended!).
It’s more approachable than you think. I know pressure canning can sound intimidating if you haven’t done it before. I was that way until a friend introduced me to the electric pressure canner. It really isn’t as scary as it seems once you’ve done it a time or two — especially with an electric canner doing a lot of the guesswork for you.
This post contains affiliate links. You can read my full disclosure policy here.
What you’ll need
Leftover cooked meat — Roast, chicken, pulled pork, ground beef, taco meat, whatever you’ve got. Just make sure it’s already fully cooked before it goes in the jar.
Broth, drippings, or water — This gets poured over the meat in the jar to fill in the space around it. I like using the drippings or broth from whatever I cooked for extra flavor, but plain water works too.
Canning jars (pints or quarts) — Use jars made for canning, not old spaghetti sauce jars. We use pint jars most often since that’s a good amount for a quick meal, but quarts work great for feeding a bigger crowd.
New canning lids — Always use a fresh lid for each jar. The rings/bands can be reused, but the flat lids need to be new every time to get a good seal.
White vinegar — This is my little trick for wiping the jar rims before the lid goes on. Any bit of grease or drippings on that rim can keep the jar from sealing, and vinegar cuts through it so much better than just a damp cloth.
Pin for later!
Tools you may need:
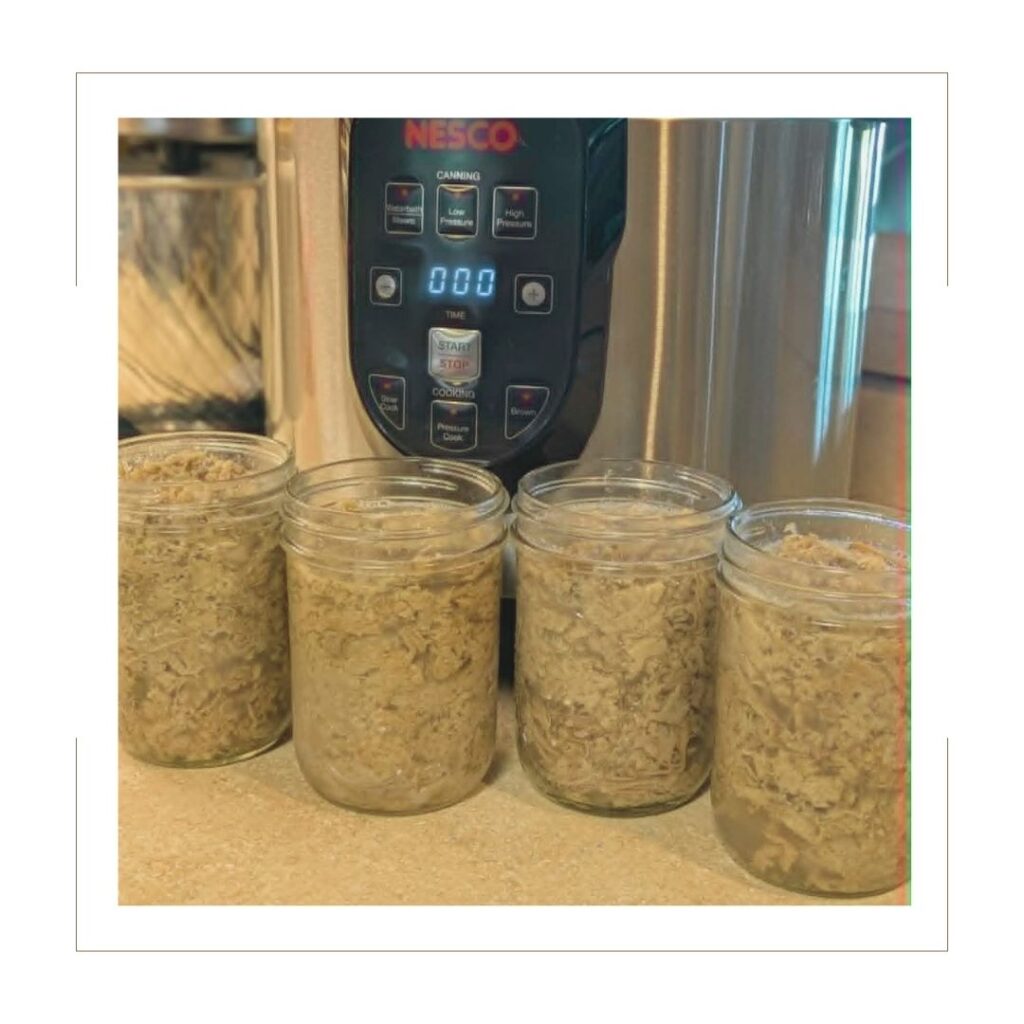
Nesco electric pressure canner — This is what I use for all my canning these days. I love that it holds a steady pressure on its own — no standing over the stove watching a dial the whole time.
Canning jars — Pints or quarts, whatever fits your family’s needs best.
Jar lifter — Trust me, you do not want to be pulling hot jars out of that canner with regular tongs. This makes it so much easier.
Canning funnel — For getting the meat and broth into the jar without making a big mess all over your counter.
Bubble remover / headspace tool — Handy for getting an accurate headspace measurement and popping any air bubbles out of the jar before it’s sealed.
How to pressure can leftover meat:
Step 1 — Prep your meat
Start with meat that’s already fully cooked — shredded chicken, cubed roast, pulled pork, ground beef, taco meat, it all works. Cut or shred it into pieces that will pack into your jars easily. This is a great way to use up what’s already in the fridge instead of letting it sit there until it’s questionable!
Step 2 — Pack the jars
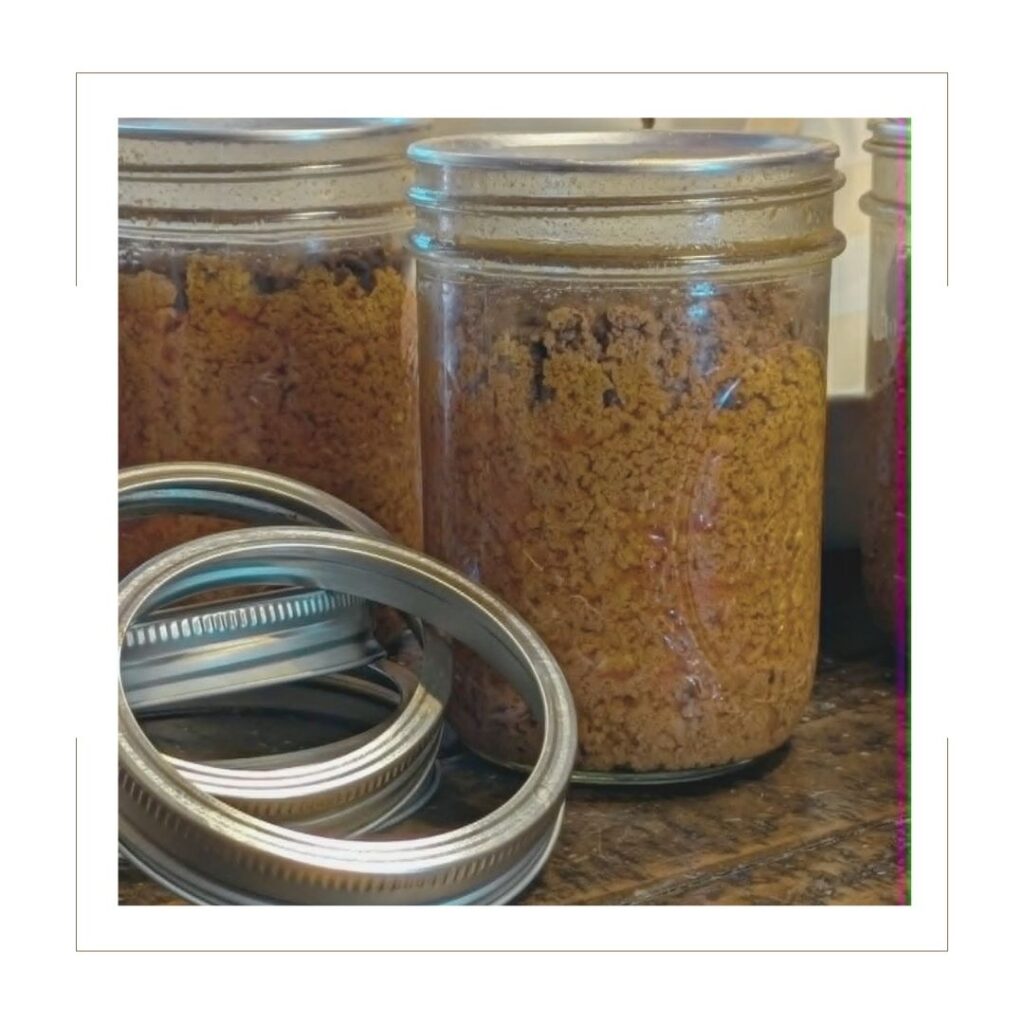
Pack your meat into clean jars, then pour hot broth, drippings, or water over the top so it comes up around the pieces. Leave 1 inch of headspace at the top of the jar — this is really important for getting a proper seal, so don’t eyeball it, use a headspace tool if you have one. Run a bubble remover (or a butter knife works in a pinch) around the inside of the jar to release any trapped air pockets.
Step 3 — Wipe the rims
Dampen a clean cloth or paper towel with white vinegar and wipe the rim of each jar really well before adding the lid. Any little bit of grease left on that rim can keep your jar from sealing properly, and I have found vinegar does a much better job cutting through it than water alone.
Step 4 — Lid, load, and process
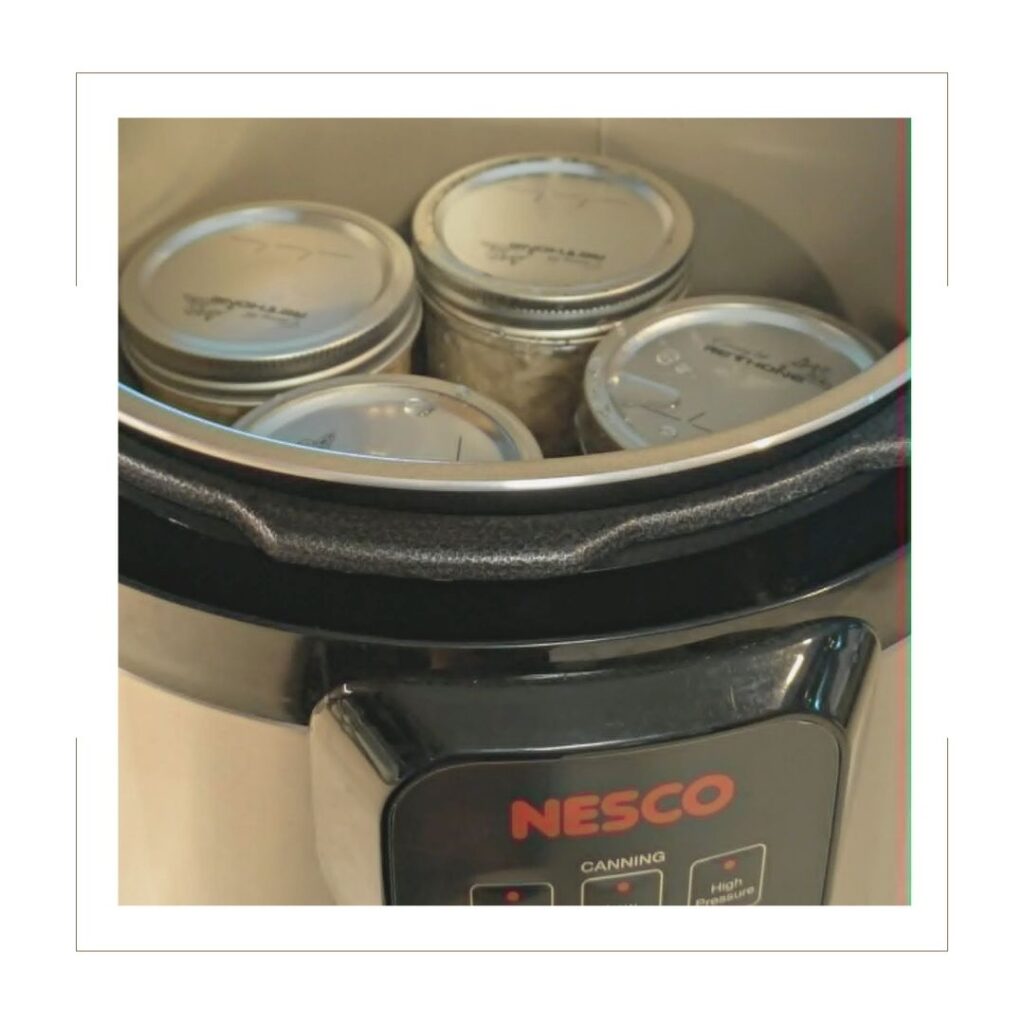
Add a new lid and ring to each jar, tightened to fingertip tight — not cranked down as hard as you can. Load the jars into your canner (I use my Nesco electric canner for this) following the manufacturer’s directions for adding water and venting. Once it’s up to pressure, process on high pressure for 75 minutes for pints or 90 minutes for quarts. Try not to walk too far away during this part — you want to keep an eye on your pressure the whole time.
Step 5 — Let it depressurize and cool
Once the processing time is up, turn off the canner and let it depressurize completely and naturally — do not try to speed this up or force the pressure down. This can take a while, and that’s okay! I usually set my timer for an hour. Once the pressure has fully released, carefully remove the lid, let the jars sit in the canner a few more minutes, then use your jar lifter to move them to a towel on the counter. Let them cool undisturbed for 12-24 hours and wait for those magical seal pops.
Step 6 — Check your seals and store
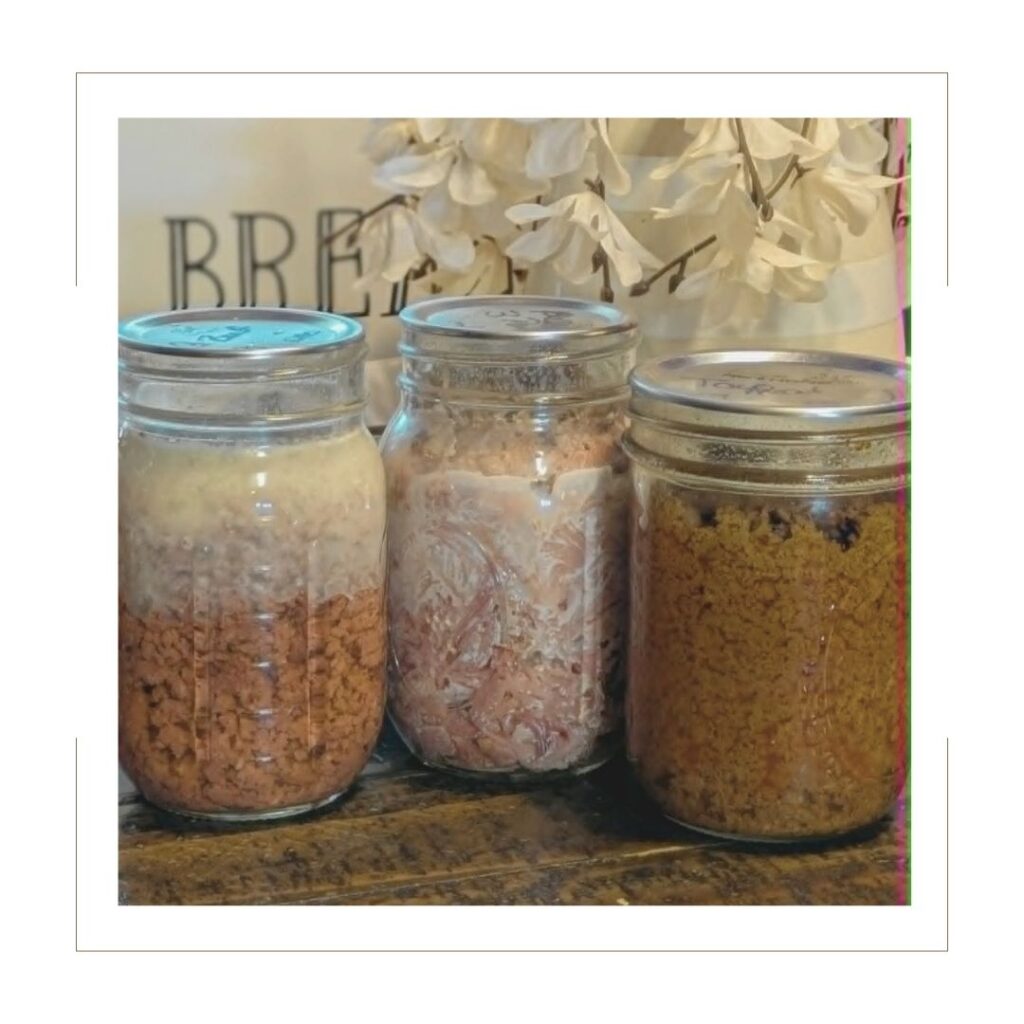
Once the jars are fully cooled, press down on the center of each lid. If it doesn’t flex or pop, you’ve got a good seal! Remove the rings, wipe the jars down, label them with the date, and store them in a cool, dark spot in your pantry or basement. Any jar that didn’t seal should go straight in the fridge and get eaten within the next few days instead of stored on the shelf.
A few important safety notes:
Canning meat is a low-acid food, which means it has to be processed in a pressure canner, not a water bath canner, to be safe. I am sharing what has worked for our family, but please keep a few things in mind:
PLEASE NOTE: I don’t always follow official FDA/USDA canning guidelines to the letter. A lot of what I share here comes from my own research into Amish and Mennonite canning traditions, along with methods passed down from folks who have been canning for decades, not just what’s in the official handbook. If you prefer to stick strictly to FDA-approved processes, please double check everything in this post against official USDA/NCHFP guidelines before you can, since some of what has worked for our family may differ from their official recommendations.
PLEASE NOTE: These times are for altitudes up to 1,000 feet. If you live at a higher elevation, you will need to adjust your pressure or processing time. Check your canner’s manual or your local extension office for the correct adjustment for your area.
PLEASE NOTE: Always follow the manufacturer’s instructions for your specific canner, and make sure it’s in good working order before you start. Never shorten a processing time or skip a step to save time. It’s just not worth the risk with a low-acid food like meat.
FAQs
Can I use raw meat instead of leftovers?
You can! Raw meat can be pressure canned too, it just uses a slightly different pack method than cooked leftovers. This post is focused on using up meat you’ve already cooked.
How long do canned jars of meat last?
Properly sealed and stored in a cool, dark spot, home-canned meat is generally good for up to a year, though I try to use ours within that first year for the best quality. Always give a jar a look and a smell before using it, and if anything seems off, don’t risk it — just toss it.
Do I have to use an electric canner?
Not at all — a stovetop pressure canner works just as well. I just prefer my Nesco electric canner because it holds pressure steady on its own and I don’t have to babysit the stove the whole time. Use whatever canner you’re comfortable with, just make sure it’s rated for pressure canning.
What can I make with canned meat once it’s opened?
So many things! Soups, tacos, casseroles, sandwiches, quick skillet meals — I love popping a jar open on a busy night when I don’t have time to cook meat from scratch. It’s already tender and ready to go.
Looking for more food from scratch tips?
You might love these too!
Homemade Taco Seasoning
Easy Homemade Pumpkin Spice Coffee Creamer
Homemade Yogurt in the Instant Pot
Easy Homemade Sandwich Bread
How to Make Sourdough Starter from Scratch
If you try pressure canning leftover meat, I would love it if you left a 5-star rating below! And if you snap a photo of your pantry shelf, share it on Instagram and tag me — I love seeing this stuff come to life in your kitchens!
I’d love for you to follow along @julie.natruallychaotic over on Instagram!
Thanks for stopping by, see you next time!