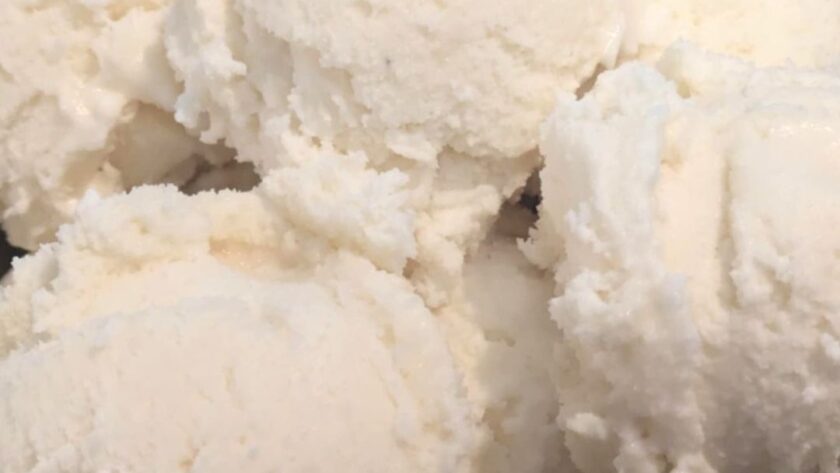
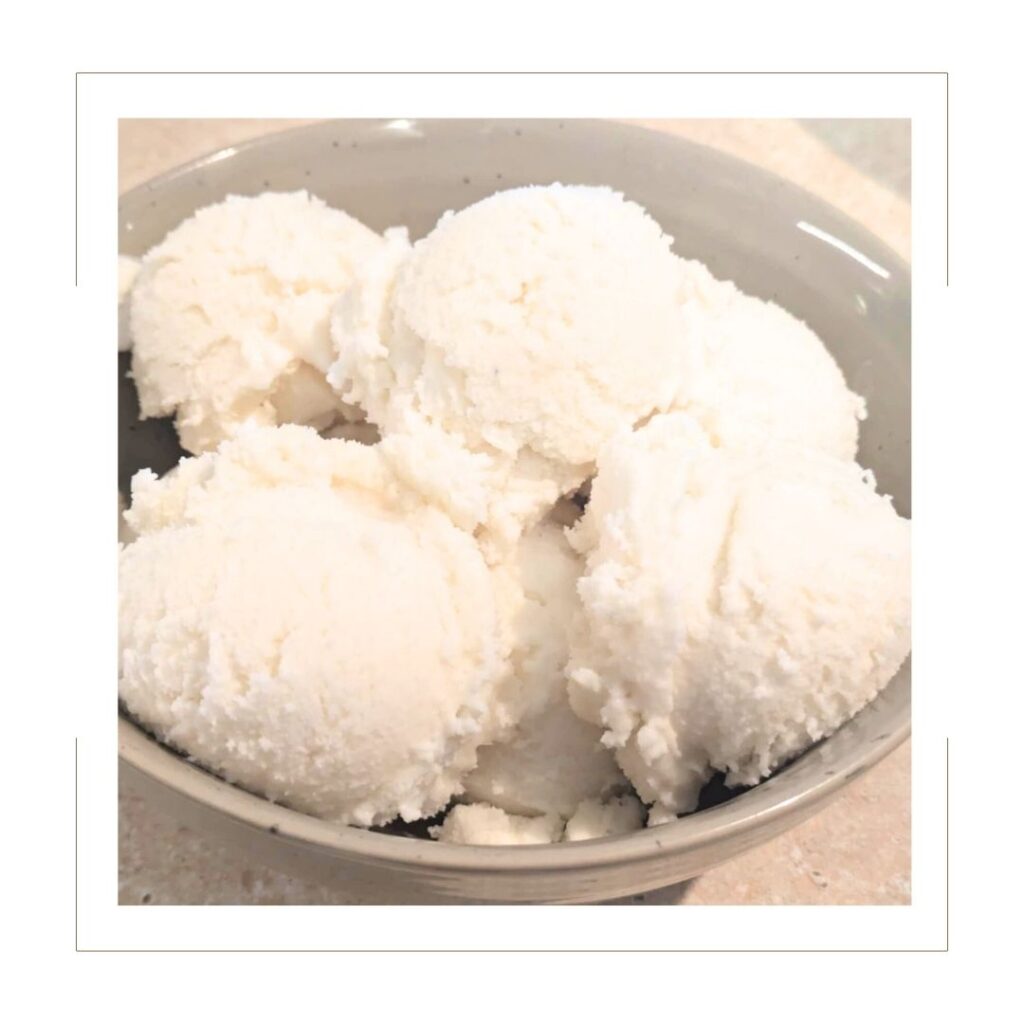
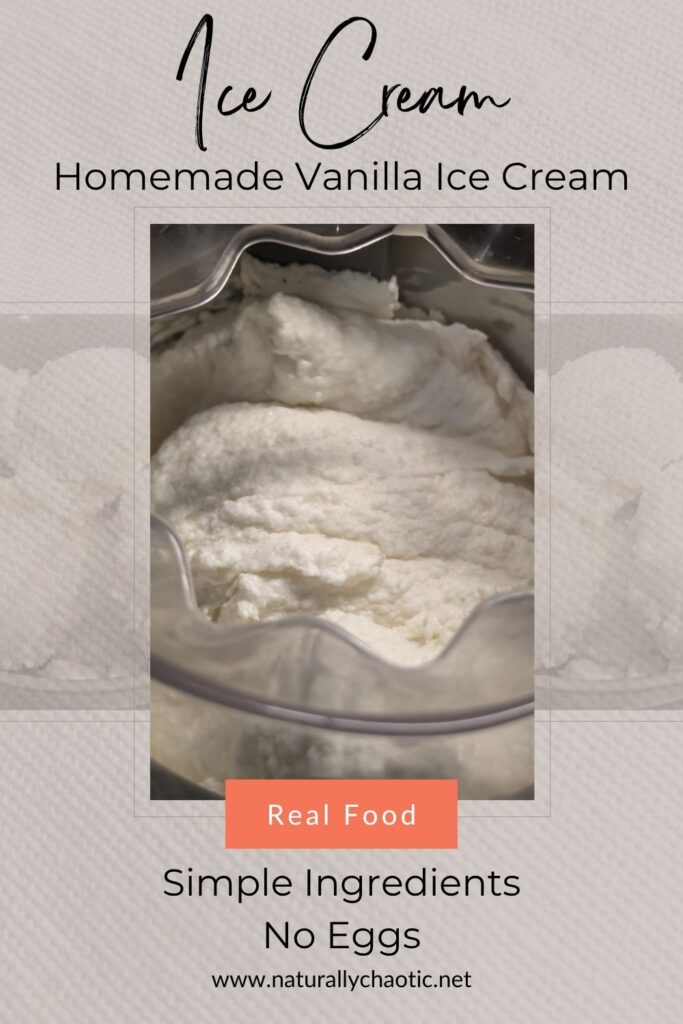
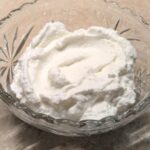
This Homemade Vanilla Ice Cream is fantastic! It requires no cooking, contains no eggs and is sweet, smooth and creamy. It is a family favorite!
Why you’ll love this recipe?
Quick – If you have been following along, you all know I love quick meals, treats and desserts.
Simple – This is a simple recipe to throw together with no complicated steps and only a few ingredients. It doesn’t even require cooking and only has 5 ingredients.
Quality Control – Ice Creams can sometimes include a ton of added sugars, preservatives and ingredients that can be harmful to us and that our bodies can’t process well. You don’t have to worry about that with this recipe. This recipe takes all of the worry out of it. You get to choose what goes into it!
Fun for Kids – Most kids love to be in the kitchen, and this is another great recipe for them to get involved with. They get to practice measuring ingredients and whisking.
This post contains affiliate links, which means I make a small commission at no extra cost to you. See my full disclosure here.
What ingredients are needed to make this Homemade Vanilla Ice Cream?
Some of these you may already have on hand, but if not, they are very easy to find! I order quite a few of my items from Thrive Market. They make it easy to find clean ingredients and ship straight to my door. If that is something you are interested in, here is a link to try it out and you can get 40% off your first order! Azure Standard is another great option especially if you are looking to purchase in bulk! Everything can also be found in the grocery store too!
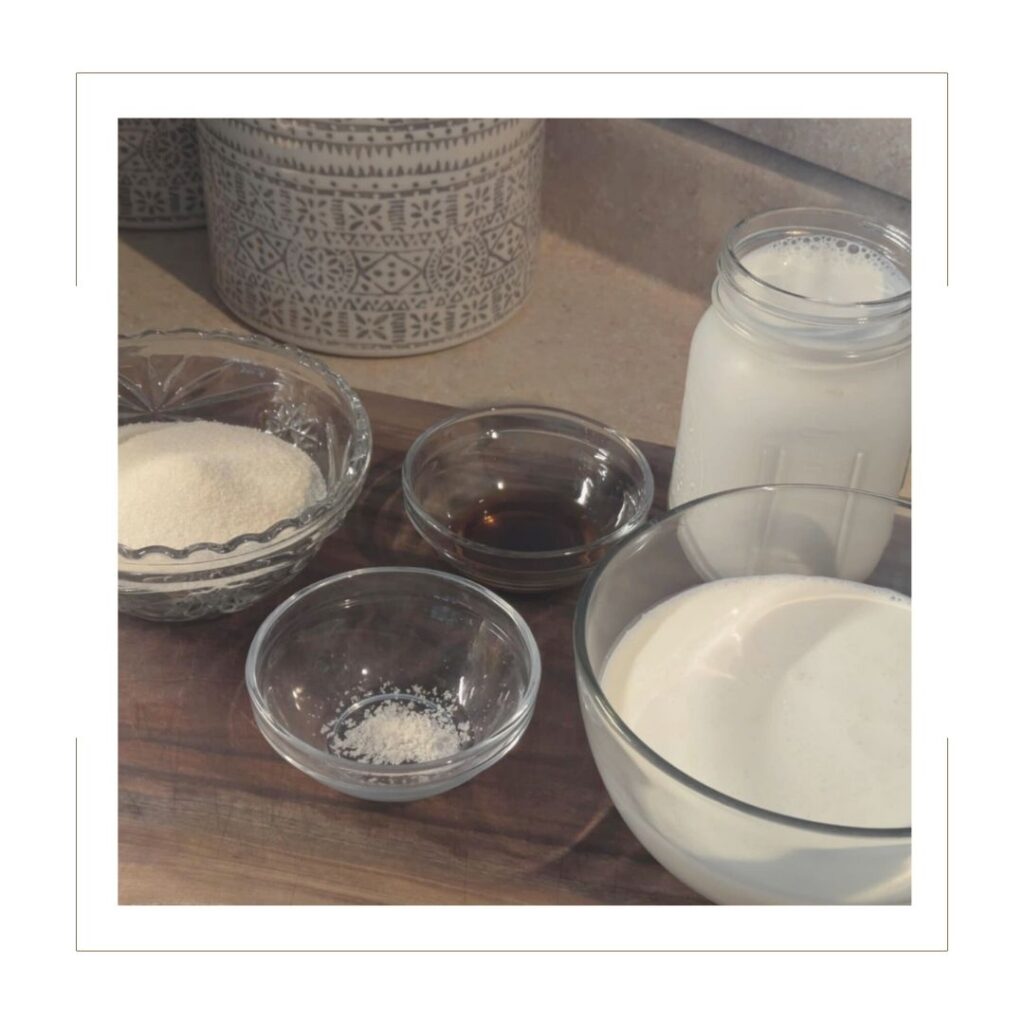
Heavy Cream – This is important for this recipe, this ingredient adds to the creamy thickness of the ice cream.
Whole Milk – Whole milk adds to the creaminess of this recipe without making it to heavy.
Raw Cane Sugar – Simple and perfect to sweeten this ice cream.
Vanilla Extract or Vanilla Bean Paste – This is where your vanilla flavor comes in. The better quality the vanilla, the better the flavor.
Celtic Salt – I use a mineral salt for this recipe but your favorite salt will do. This will bring a balance with the sweetness and if you use a mineral salt, you get the added benefits of the minerals.
Pin for later!
Tools you may need for your recipe:
Measuring Cups and Measuring Spoons
How to make Homemade Vanilla Ice Cream…
This recipe really is super simple!
Gather all your ingredients. You want to have your machine ready to go and everything ready so your milk and cream stays cold.
Every Ice Cream machine may work a bit different. With mine, I wait to grab the frozen drum insert until after I mix everything up, making sure it is as cold as possible.
Measure out your ingredients and add them to your glass batter bowl. Just throw them all in there together.
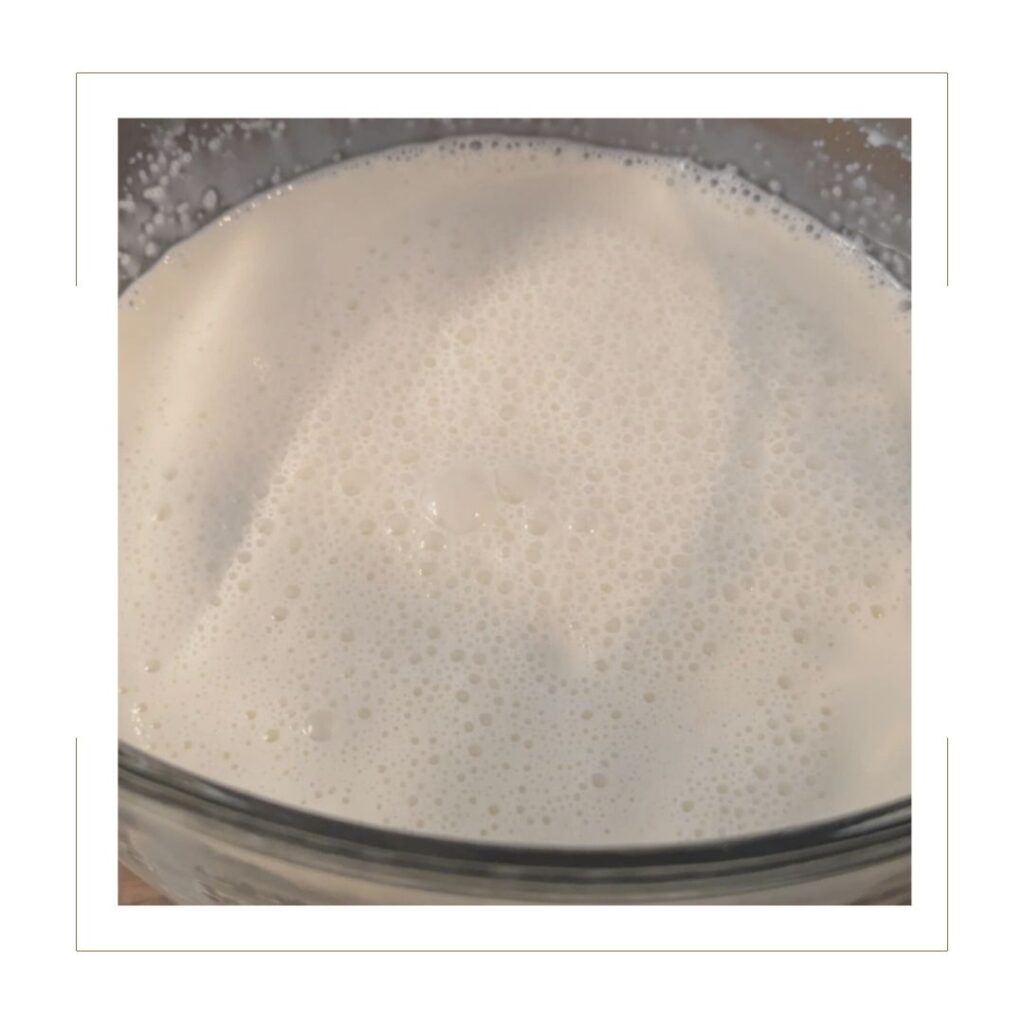
Whisk well for about a minute, you’re not “whipping” it, just frothing it up a bit and really mixing up the sugar.
Now I grab my drum insert from the freezer and put it in my machine. I get my machine turned on and spinning.
Then I give the milk mixture one more good whisk and slowly pour it into the machine.
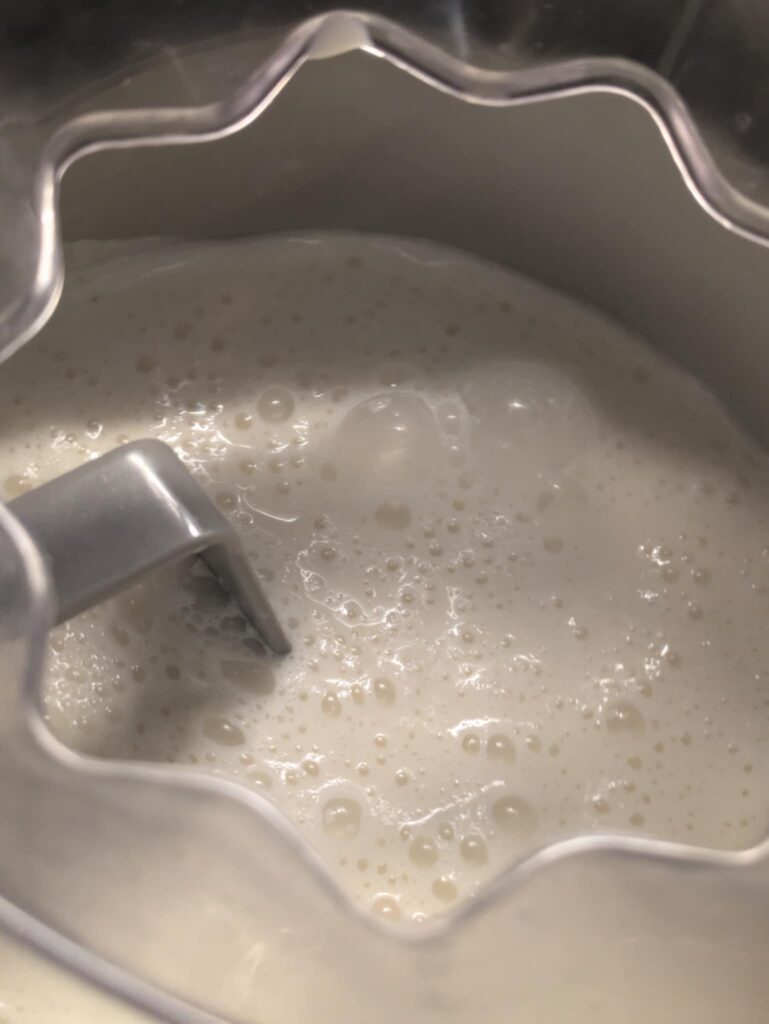
The machine will do the rest.
After your ice cream mixes for the amount of time specific for your machine (mine takes about 25 minutes), then you will transfer it into your freezer container. It will still be very soft at this point.
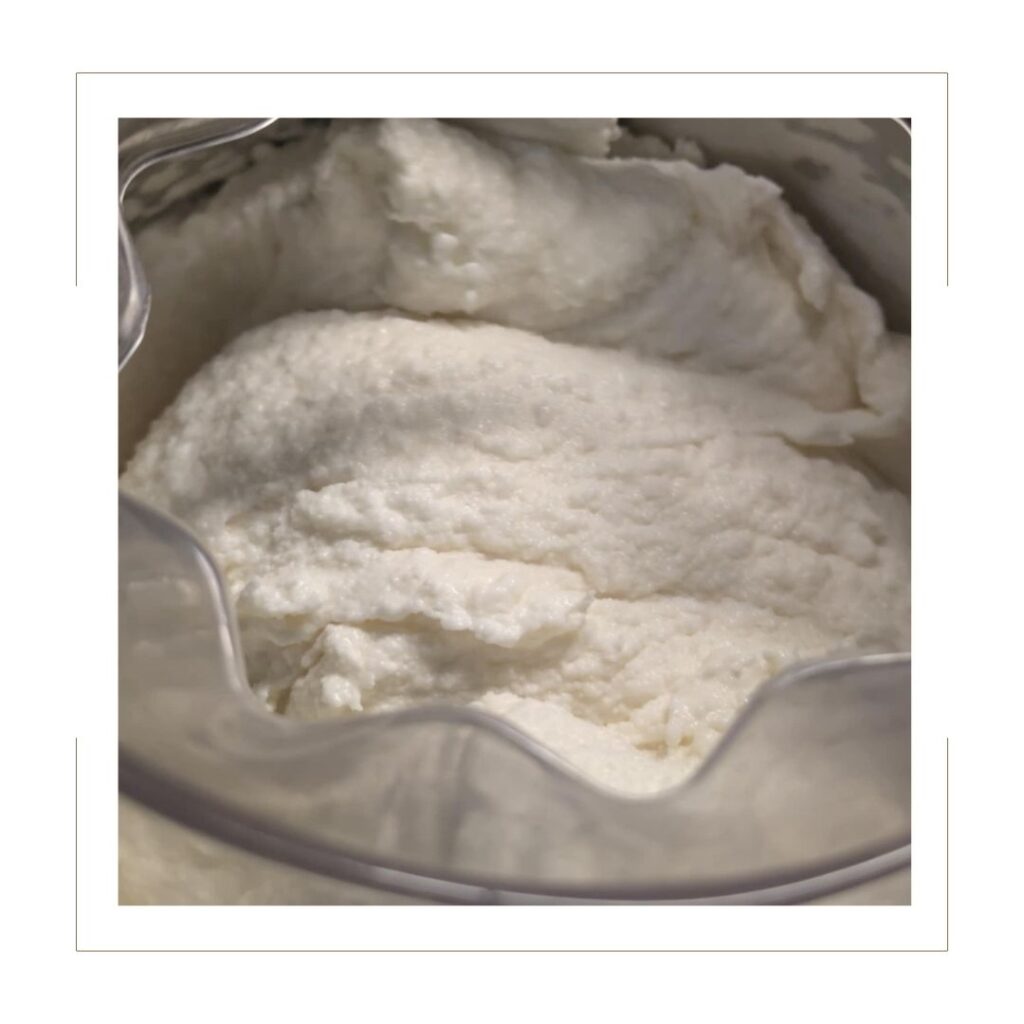
I always recommend taste testing at this point. You know just to be sure and because why not, any reason to eat ice cream!
If you can stand the wait, let it sit in the freezer for 5 to 6 hours or overnight is best. But you can definitely eat it whenever makes you happy.

FAQs
How To Store?
Place in an airtight freezer safe container and keep stored in the freezer.
Can I swap out the milks for a different options?
You can but it will affect the texture and flavor.
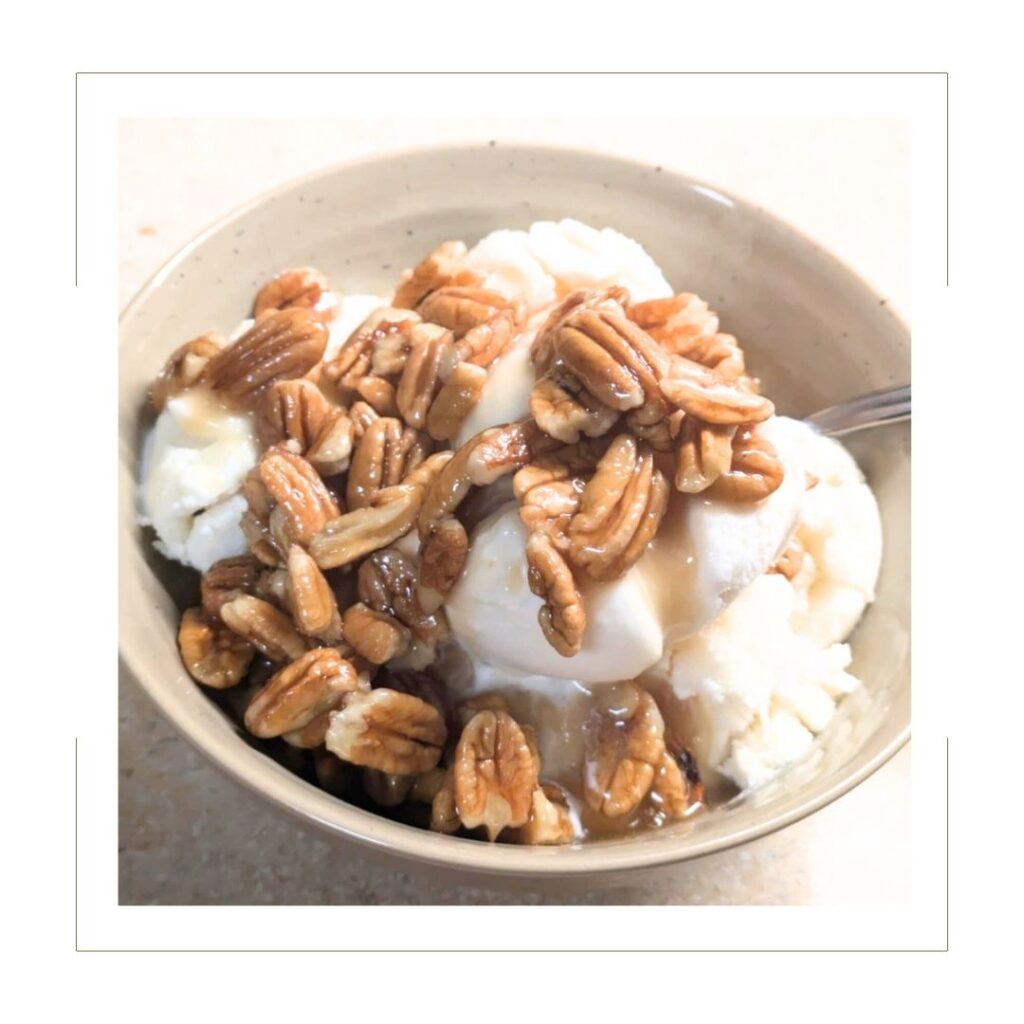
Can I add in inclusions?
Yes! You can totally make this your own with whatever flavors you prefer! I suggest solid inclusions though so the texture doesn’t change, things like chocolate chips, chopped up candies, chopped cookies, nuts, whatever suits your fancy. Enjoy!
Looking for more delicious recipes? Try these out!
Salted Chocolate Covered Peanut Butter Date Bites
Easy Banana Nut Muffins
Simple Homemade Fluffy Waffles
Chocolate Chip Oatmeal Smoothie
Easy Fluffy Pancakes
Triple Chocolate Protein Muffins
Chocolate Granola
If you try this recipe and love it, I would love if you could come back and give it 5 stars! Don’t forget to leave a review and feel free to snap a photo and share it on Facebook or Instagram. I love seeing my recipes come to life!
I’d love for you to follow along @julie.natruallychaotic over on Instagram!
Thanks for stopping by, see you next time!

Homemade Vanilla Ice Cream
This Homemade Vanilla Ice Cream is fantastic! It requires no cooking, contains no eggs and is sweet, smooth and creamy. It is a family favorite!
Ingredients
- 2 1/2 cups heavy cream
- 3 3/4 cups whole milk
- 1 1/8 cups raw cane sugar
- 1/4 tsp. salt
- 3 tbsp. vanilla extract
Instructions
- Gather all of your ingredients. Have your machine out and ready to go so everything stays nice and cold. (If your machine has a drum insert, pull that from the freezer just before you pour in your mixture.)
- Measure out your ingredients and add them to your glass batter/mixing bowl.
- Whisk well for about a minute. You're not "whipping" it, just frothing it up a bit and really mixing up the sugar.
- If you have a drum insert grab it here and turn on your machine.
- Whisk your milk mixture once more and slowly pour into your ice cream machine.
- Let the machine do it's thing!
- Once your ice cream has mixed for the amount of time according to the machines instructions you will transfer it to a freezer safe container.
- Store in the freezer for 5 to 6 hours or overnight. Unless you just can't help yourself, then dig in!
- I always recommend taste testing some, you know, just to be sure.
- Enjoy!

Totally delicious!!!!!